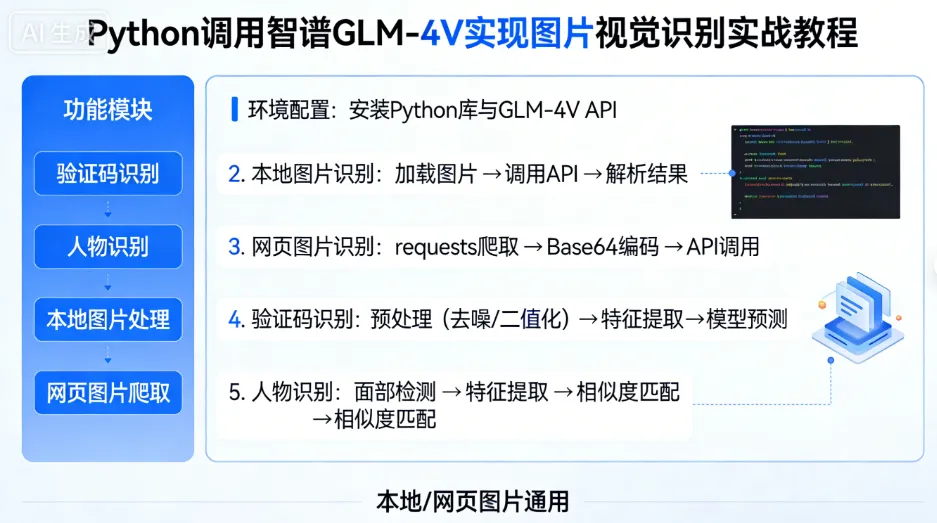
智谱 GLM-4V 作为高性能多模态大模型,支持图片 + 文本混合输入,能精准搞定验证码识别、图文分析、物体检测等场景。今天就手把手教大家用 Python 实现本地图片、网页截图、Base64 编码图片三种方式调用 GLM-4V,结合 hCaptcha 验证码识别的实战场景,从零到一落地!
一、核心知识点速览
✅ GLM-4V 调用核心:图片必须转为 Base64 编码传入 API✅ 适配场景:本地图片识别、网页截图识别、验证码解析✅ 核心库:requests(接口调用)、pillow(图片处理)、DrissionPage(网页截图)
二、环境准备(两步搞定)
1. 安装依赖
直接复制到终端执行,一键安装所有需要的库:
# 基础依赖pip install requests pillow# 网页自动化/截图(可选,用于网页图片场景)pip install DrissionPage# 数据解析(可选)pip install json re
2. 智谱 AI 配置
1️⃣ 注册智谱 AI 开发者账号:https://open.bigmodel.cn/2️⃣ 控制台获取 API Key(API 密钥管理模块)3️⃣ 确保账号有余额(GLM-4V 单次调用成本≈0.006 元,成本极低!)
三、通用封装:GLM-4V 调用核心函数
先封装一个通用调用函数,适配所有图片输入方式,复制就能用:
import requestsimport base64import json# 智谱AI配置(替换为你的密钥)AI_CONFIG = { "api_key": "你的GLM-4V API Key", "base_url": "https://open.bigmodel.cn/api/paas/v4/chat/completions", "model": "glm-4v-plus"}def encode_image_to_base64(image_path): """ 本地图片转Base64编码(核心步骤) :param image_path: 本地图片路径 :return: Base64编码字符串 """ with open(image_path, "rb") as image_file: return base64.b64encode(image_file.read()).decode('utf-8')def call_glm4v(image_content, prompt, is_base64=False): """ 调用GLM-4V模型 :param image_content: 图片内容(本地路径/Base64字符串) :param prompt: 提示词 :param is_base64: 是否为Base64编码(False=本地路径,True=Base64字符串) :return: AI响应文本 """ # 处理图片输入 if not is_base64: base64_img = encode_image_to_base64(image_content) else: base64_img = image_content # 请求头 headers = { "Content-Type": "application/json", "Authorization": f"Bearer {AI_CONFIG['api_key']}" } # 请求体(智谱GLM-4V标准格式) payload = { "model": AI_CONFIG["model"], "messages": [ { "role": "user", "content": [ {"type": "text", "text": prompt}, {"type": "image_url", "image_url": {"url": base64_img}} ] } ], "max_tokens": 1000, # 输出长度限制 "temperature": 0.1 # 低随机性,保证结果稳定 } # 发送请求 try: response = requests.post( AI_CONFIG["base_url"], headers=headers, json=payload, timeout=60 ) response.raise_for_status() # 抛出HTTP异常 result = response.json() return result["choices"][0]["message"]["content"] except Exception as e: raise Exception(f"GLM-4V调用失败: {str(e)}")
四、场景 1:本地图片调用 GLM-4V
✨适用场景
识别本地保存的图片(验证码截图、产品图片、文档图片等)。
✨完整示例(识别 验证码)
def local_image_demo(): """本地图片调用GLM-4V示例(识别验证码)""" # 1. 本地图片路径 local_img_path = "captcha_screenshot.png" # 你的本地图片 # 2. 定制化提示词(以hCaptcha九宫格验证码为例) prompt = """ 图片尺寸400×600,坐标系左上角(0,0)、右下角(1000,1000),3×3九宫格验证码。 输出格式:[(x,y), (x,y)],仅返回坐标列表,无多余文字。 """ # 3. 调用GLM-4V try: ai_response = call_glm4v(local_img_path, prompt) print("AI识别结果:", ai_response) # 4. 解析坐标(可选,根据实际需求) import re coord_pattern = r'\((\d+),(\d+)\)' coords = re.findall(coord_pattern, ai_response) coords = [(int(x), int(y)) for x, y in coords] print("解析后的坐标:", coords) except Exception as e: print("识别失败:", e)# 执行示例if __name__ == "__main__": local_image_demo()
五、场景 2:网页截图 + GLM-4V 识别
✨适用场景
自动化爬虫中实时截取网页元素(验证码、弹窗图片)并识别。
✨完整示例(DrissionPage 截图 + 识别)
from DrissionPage import ChromiumPage, ChromiumOptionsdef web_screenshot_demo(): """网页截图+GLM-4V识别示例(验证码)""" # 1. 初始化浏览器 co = ChromiumOptions().auto_port() page = ChromiumPage(co) try: # 2. 访问目标页面(示例:带hCaptcha的页面) page.get("https://你的目标网址.com") # 3. 定位验证码区域并截图 captcha_ele = page.ele('.xxxxxx') # 验证码核心区域 screenshot_path = "web_captcha.png" captcha_ele.get_screenshot(screenshot_path) # 截取指定元素 print(f"网页截图已保存:{screenshot_path}") # 4. 调用GLM-4V识别 prompt = """ 分析这张验证码图片,返回所有"有尾巴的动物"的中心坐标,格式:[(x,y), (x,y)] 仅返回坐标,无其他文字。 """ ai_response = call_glm4v(screenshot_path, prompt) print("验证码识别结果:", ai_response) finally: page.close()# 执行示例if __name__ == "__main__": web_screenshot_demo()
六、场景 3:Base64 编码图片调用 GLM-4V
✨适用场景
图片已在内存中(网络请求返回的图片、二进制流),无需保存到本地。
✨完整示例
def base64_image_demo(): """Base64编码图片调用GLM-4V示例""" # 1. 模拟获取Base64图片(实际场景可从网络/内存读取) # 方式1:本地图片转Base64(测试用) base64_img = encode_image_to_base64("captcha.png") # 方式2:网络图片转Base64(实际场景) # import requests # img_response = requests.get("https://xxx.com/captcha.png") # base64_img = base64.b64encode(img_response.content).decode('utf-8') # 2. 调用GLM-4V(指定is_base64=True) prompt = "识别这张图片中的所有动物名称,仅返回名称列表,用逗号分隔" ai_response = call_glm4v(base64_img, prompt, is_base64=True) print("Base64图片识别结果:", ai_response)# 执行示例if __name__ == "__main__": base64_image_demo()
七、避坑指南 & 优化建议
🚨常见问题解决
- API 调用失败:检查 API Key 是否正确、账号是否有余额、请求格式是否符合智谱规范
- 图片识别不准确:精简提示词、明确输出格式、降低 temperature(建议 0.1-0.3)
- Base64 编码错误:确保编码后无多余空格 / 换行,使用 UTF-8 解码
📈优化技巧
- 成本控制:限制
max_tokens(如 500)、精简提示词减少 Tokens 消耗 - 效率提升:复用浏览器实例、图片压缩后再编码(验证码建议 400×600)
- 稳定性:添加重试机制(API 调用失败后重试 2-3 次)
⚠️注意事项
- 敏感场景(如验证码)建议使用低随机性(temperature=0.1)
八、总结
- GLM-4V 调用的核心是图片转 Base64 编码,本地 / 网页 / Base64 图片均适用这个逻辑;
- 定制化提示词是识别精准度的关键,一定要明确任务、规则、输出格式;
- 结合 DrissionPage 可实现网页图片的全自动截图 + 识别 + 交互,轻松落地各类视觉识别场景。
按照本文的代码和步骤,无论是本地图片分析、网页验证码破解,还是自动化爬虫中的图片处理,都能快速搞定!如果有问题,欢迎在评论区交流~
🔍 关注我,后续分享更多 AI 大模型实战技巧、Python 爬虫干货!