目录
一、综述
本文主要工作中围绕ARM A55的EVB版多核启动问题进行分析,涉及到timer、gic中断模块,详细整理了整个过程。 目标机器:ARM A55 8核CPU 交叉编译环境:Ubuntu 22.04.2 LTS 内核版本:5.15.79
二、调试流程简介
2.1 大体流程
本文重点讲述内核调试过程,uboot部分讲述相关配置,本次使用spin-table方式启动多核、涉及ARM通用时钟模块,GIC500中断,整体过程如下:1、uboot编译; 2、内核相关配置打开; 3、内核相关模块驱动确认; 4、内核编译; 5、linux系统定制;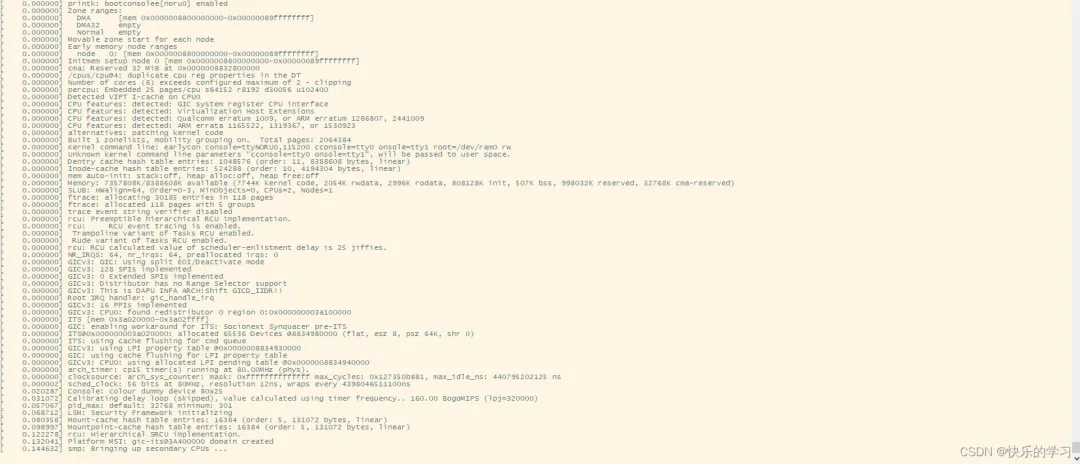
2.2 spin-table简介
spin-table方式的多核启动方式,顾名思义在于自旋,主处理器和从处理器上电都会启动,主处理器先启动,从处理器在spin_table_secondary_jump处wfe睡眠,主处理器通过修改设备树的cpu节点的cpu-release-addr属性为spin_table_cpu_release_addr,这是从处理器的释放地址所在的地方,主处理器进入内核后,会通过smp_prepare_cpus函数调用spin-table 对应的cpu操作集的cpu_prepare方法从而在smp_spin_table_cpu_prepare函数中设置从处理器的释放地址为secondary_holding_pen这个内核函数,然后通过sev指令唤醒从处理器,从处理器继续从secondary_holding_pen开始执行(从处理器来到了内核的世界),发现secondary_holding_pen_release不是自己的处理编号,然后通过wfe继续睡眠,当主处理器完成了大多数的内核组件的初始化之后,调用smp_init来来开始真正的启动从处理器,最终调用spin-table 对应的cpu操作集的cpu_boot方法从而在smp_spin_table_cpu_boot将需要启动的处理器的编号写入secondary_holding_pen_release中,然后再次sev指令唤醒从处理器,从处理器得以继续执行(设置自己异常向量表,初始化mmu等),最终在idle线程中执行wfi睡眠。其他从处理器也是同样的方式启动起来,同样最后进入各种idle进程执行wfi睡眠,主处理器继续往下进行内核初始化,直到启动init进程,后面多个处理器都被启动起来,都可以调度进程,多进程还会被均衡到多核。
三、uboot和内核配置
3.1 uboot配置
1、配置时钟频率,影响uboot中uart时钟和启动linux内核timer时钟 #define SCFG_SYS_CLOCK 100000000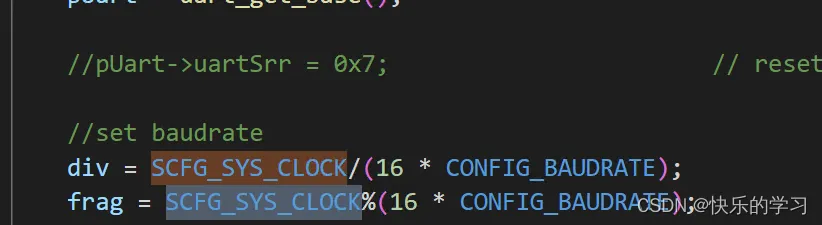
#define COUNTER_FREQUENCY 200000000 // 200 MHz generic timer clock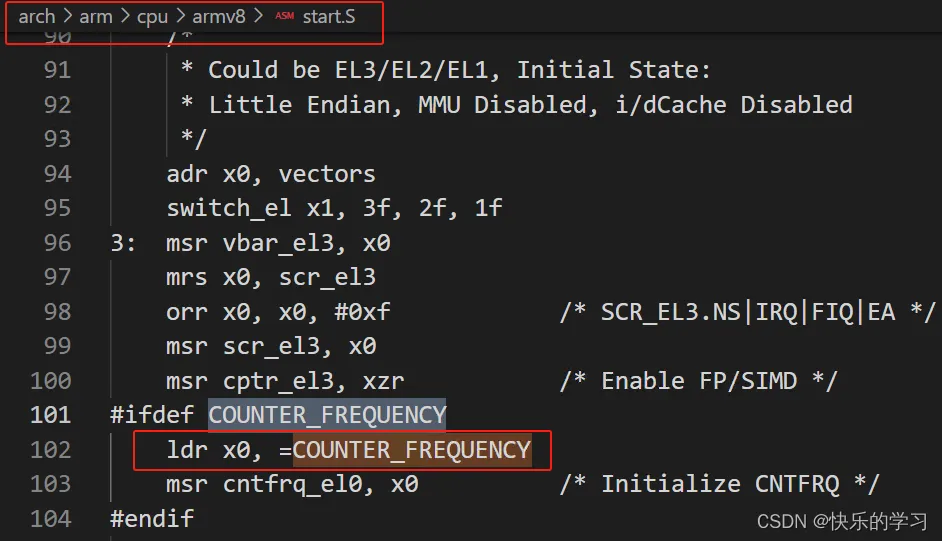
2、设置CPU_RELEASE_ADDR地址 该地址为DDR中一段地址即可,不可与uboot、内核加载地址重合,建议放在内存的后面部分 /* #define CPU_RELEASE_ADDR infa_slave_cores_halt */ #define CPU_RELEASE_ADDR 0x9b0000000 uboot在启动后将该值存放在X1寄存器中,后续传给内核。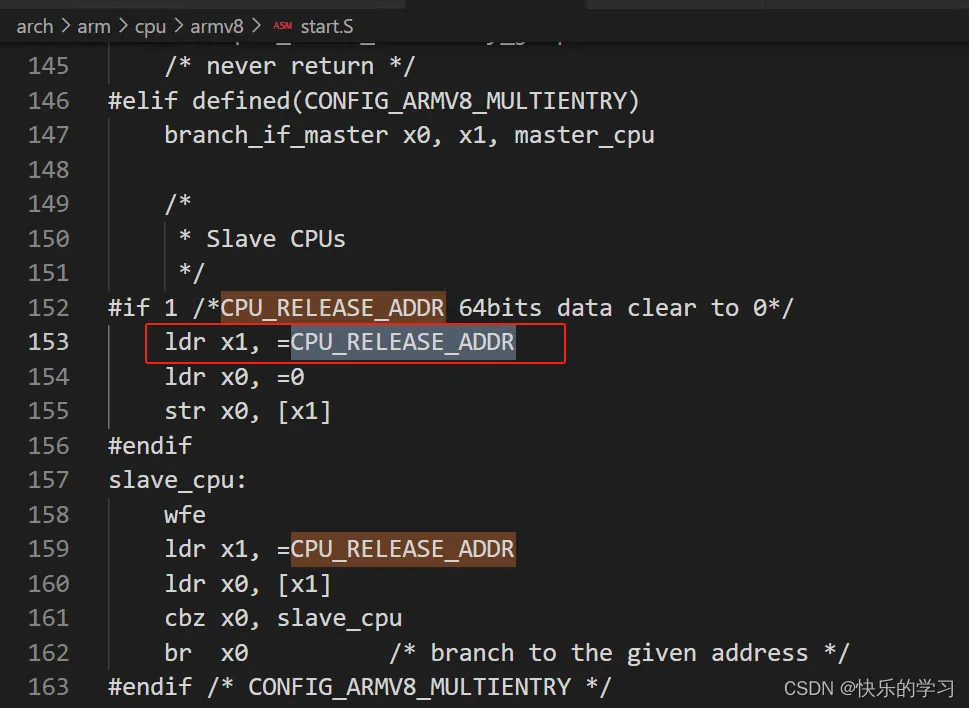 该地址的作用: 芯片上电后primary cpu开始执行启动流程,而secondary cpu则将自身设置为WFE睡眠状态,并且为内核准备了一块内存,用于填写secondary cpu的入口地址。 uboot负责将这块内存的地址写入devicetree中,当内核初始化完成,需要启动secondary cpu时,就将其内核入口地址写到那块内存中,然后唤醒cpu。 secondary cpu被唤醒后,检查该内存的内容,确认内核已经向其写入了启动地址,就跳转到该地址执行启动流程。
注:因为该芯片为公司基于ARM自研的芯片,部分配置进行了定制,配置信息可参考相应修改。
3、config配置
CONFIG_ARMV8_MULTIENTRY=y
3.2 内核timer配置
1、修改dts
timer { compatible = "arm,armv8-timer"; interrupts = <GIC_PPI13IRQ_TYPE_LEVEL_HIGH>, <GIC_PPI14IRQ_TYPE_LEVEL_HIGH>, <GIC_PPI11IRQ_TYPE_LEVEL_HIGH>, <GIC_PPI10IRQ_TYPE_LEVEL_HIGH>;};
2、确定驱动 该timer驱动为ARM通用驱动模块,中断号一般都是固定的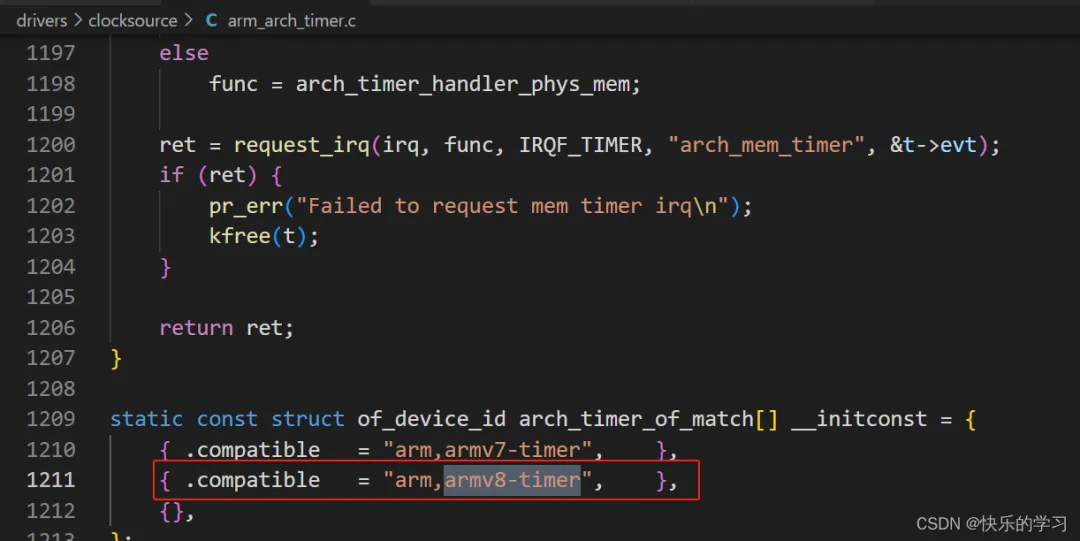
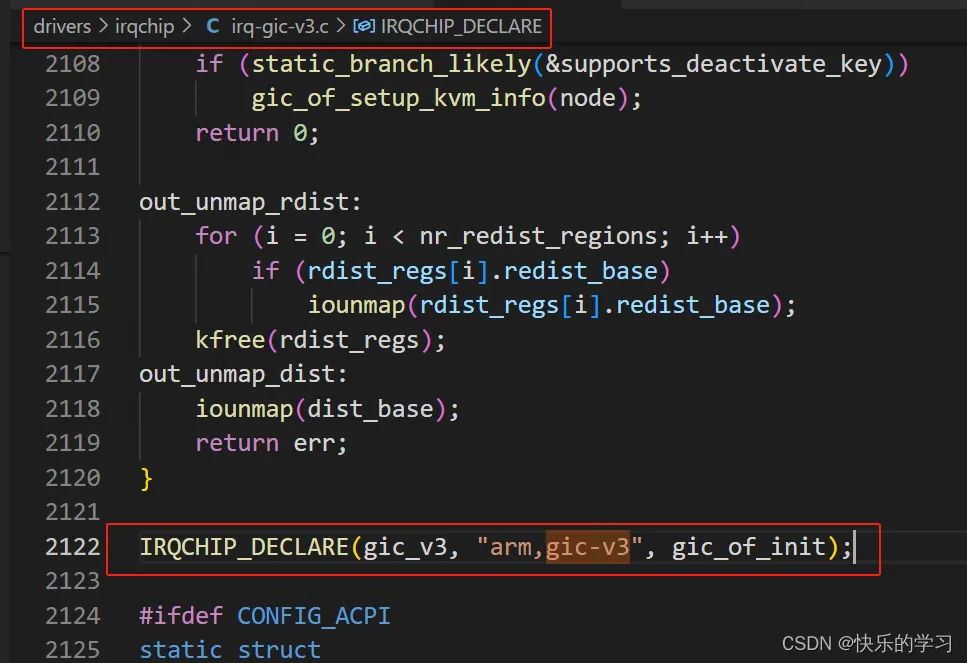
3.3 内核GIC中断配置
1、dts配置
gic: interrupt-controller@3A000000 { compatible = "arm,gic-v3";#interrupt-cells = <3>; interrupt-controller; reg = <0x0 0x3A000000 0x0 0x020000>, /* GICD */ <0x0 0x3A100000 0x0 0x100000>; /* GICR */#address-cells = <2>;#size-cells = <2>; ranges; gic_its: gic-its@3A400000{ compatible = "arm,gic-v3-its"; reg = <0x0 0x3A020000 0x0 0x10000>; socionext,synquacer-pre-its = <0x3A400000 0x400000>; msi-controller;#msi-cells = <1>;};
注:该gic中断对应的基地址与具体芯片有关。
3.4 驱动确认
3.5 内核SMP配置
1、修改dts新增多核CPU配置
主要是cpu-release-addr = <0x9 0xb0000000>要与uboot下设置的值一致,同时reg = <0x0 0x0>;中通过MPIDR方式记录cpu核的id,本块板子是用MPIDR[23:8]进行记录,所以cpu1是偏移8bit从0x100开始的。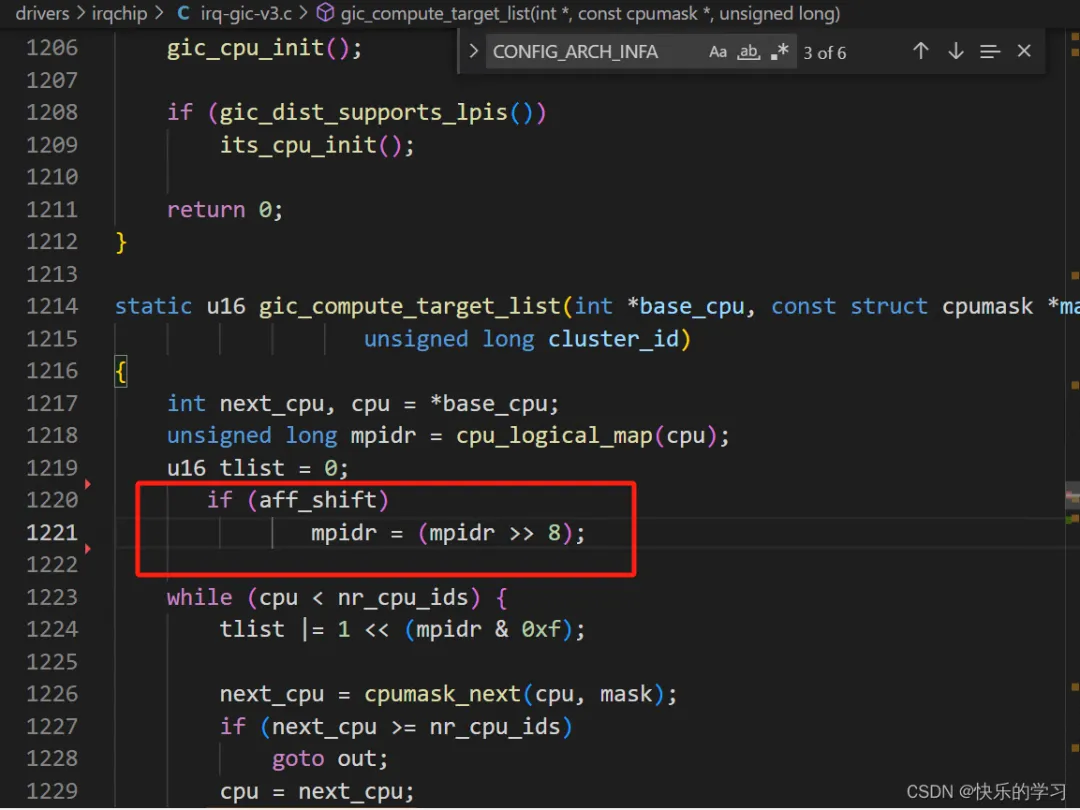 dts内容如下:
cpus {#address-cells = <2>;#size-cells = <0>; cpu0: cpu@0 { device_type = "cpu"; compatible = "arm,armv8"; reg = <0x0 0x0>; enable-method = "spin-table"; cpu-release-addr = <0x9 0xb0000000>; next-level-cache = <&l2_cluster0>; clock-frequency = <1600000000>;}; cpu1: cpu@1 { device_type = "cpu"; compatible = "arm,armv8"; reg = <0x0 0x100>; /*should be 0x100,0x200.....MPIDR[23:8] is ID*/ enable-method = "spin-table"; cpu-release-addr = <0x9 0xb0000000>; /*just used to save Secondary CPU Start Addr*/ next-level-cache = <&l2_cluster0>; clock-frequency = <1600000000>;}; cpu2: cpu@2 { device_type = "cpu"; compatible = "arm,armv8"; reg = <0x0 0x200>; /*should be 0x100,0x200.....MPIDR[23:8] is ID*/ enable-method = "spin-table"; cpu-release-addr = <0x9 0xb0000000>; /*just used to save Secondary CPU Start Addr*/ next-level-cache = <&l2_cluster0>; clock-frequency = <1600000000>;}; cpu3: cpu@3 { device_type = "cpu"; compatible = "arm,armv8"; reg = <0x0 0x300>; enable-method = "spin-table"; cpu-release-addr = <0x9 0xb0000000>; next-level-cache = <&l2_cluster0>; clock-frequency = <1600000000>;}; cpu4: cpu@4 { device_type = "cpu"; compatible = "arm,armv8"; reg = <0x0 0x400>; /*should be 0x100,0x200.....MPIDR[23:8] is ID*/ enable-method = "spin-table"; cpu-release-addr = <0x9 0xb0000000>; /*just used to save Secondary CPU Start Addr*/ next-level-cache = <&l2_cluster0>; clock-frequency = <1600000000>;}; cpu5: cpu@5 { device_type = "cpu"; compatible = "arm,armv8"; reg = <0x0 0x500>; /*should be 0x100,0x200.....MPIDR[23:8] is ID*/ enable-method = "spin-table"; cpu-release-addr = <0x9 0xb0000000>; /*just used to save Secondary CPU Start Addr*/ next-level-cache = <&l2_cluster0>; clock-frequency = <1600000000>;}; cpu6: cpu@6 { device_type = "cpu"; compatible = "arm,armv8"; reg = <0x0 0x600>; /*should be 0x100,0x200.....MPIDR[23:8] is ID*/ enable-method = "spin-table"; cpu-release-addr = <0x9 0xb0000000>; /*just used to save Secondary CPU Start Addr*/ next-level-cache = <&l2_cluster0>; clock-frequency = <1600000000>;}; cpu7: cpu@7 { device_type = "cpu"; compatible = "arm,armv8"; reg = <0x0 0x700>; /*should be 0x100,0x200.....MPIDR[23:8] is ID*/ enable-method = "spin-table"; cpu-release-addr = <0x9 0xb0000000>; /*just used to save Secondary CPU Start Addr*/ next-level-cache = <&l2_cluster0>; clock-frequency = <1600000000>;};
3.6 内核config配置
CONFIG_SMP=yCONFIG_NR_CPUS=8