260730 | Linux中基于 singularity容器中安装软件
- 2026-10-11 07:22:09
 生信服务器立减优惠活动:西柚云服务器立减优惠活动,或输入优惠码:
BioinfoDu。网址:
https://dayu.xiyoucloud.net/dayu/api/v1/anonymous/affiliate/BioinfoDu在singularity中如何安装需要编译的软件
在新建的容器中,我们可以理解成这个是一个全新环境的服务器,就是一片空白。我们生信软件,在这个环境中,全部的环境,都需要我们自己安装。
那么,如何安装需要编译的软件呢。
如下所示:
./configure make make install在我们的一般的服务器中,大多数Linux系统都是的将一些编译软件集成在一起,因此,我们在使用时,基本直接就可以编译。
如果你遇到以下情况,请进行注意。
Singularity> ./configure checking for gcc... nochecking for cc... nochecking for cl.exe... nochecking for clang... noconfigure: error: in '/opt/bcftools-1.22':configure: error: no acceptable C compiler found in $PATHSee 'config.log' for more details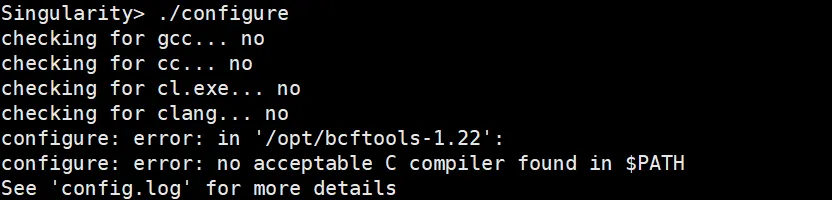
此提示,在singularity容器中未安装 安装编译工具 。
遇到此情况,请安装对应的编译软件。(此部分,已在前面部分安装。)
apt-get updateapt-get install -y zlib1g-dev build-essential zlib1g-dev libbz2-dev liblzma-dev libcurl4-openssl-dev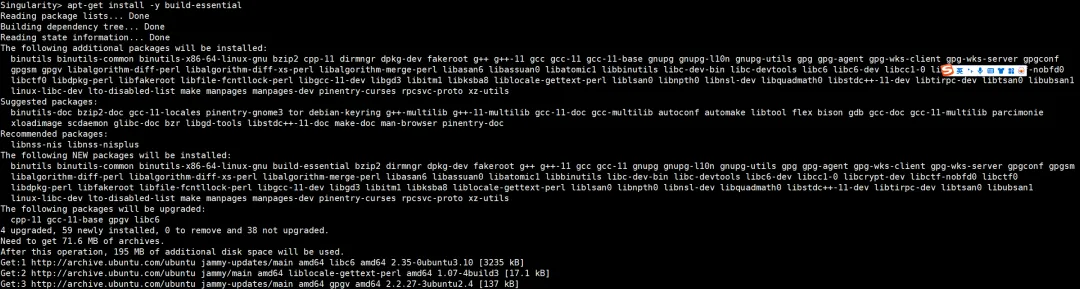
安装后,你就可以直接进行编辑软件。
例子:
以bcftools为例子。
下载软件
https://github.com/samtools/bcftools/releases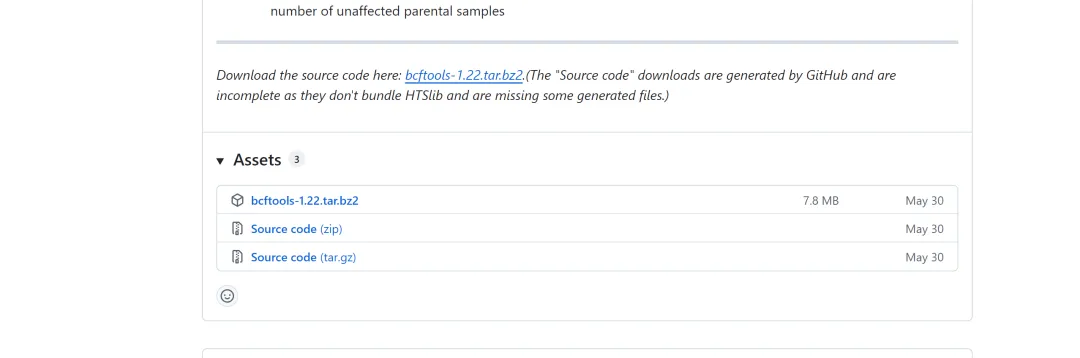
解压与安装
tar -xvjf bcftools-1.22.tar.bz2cd bcftools-1.22## 安装./configuremake 安装成功!
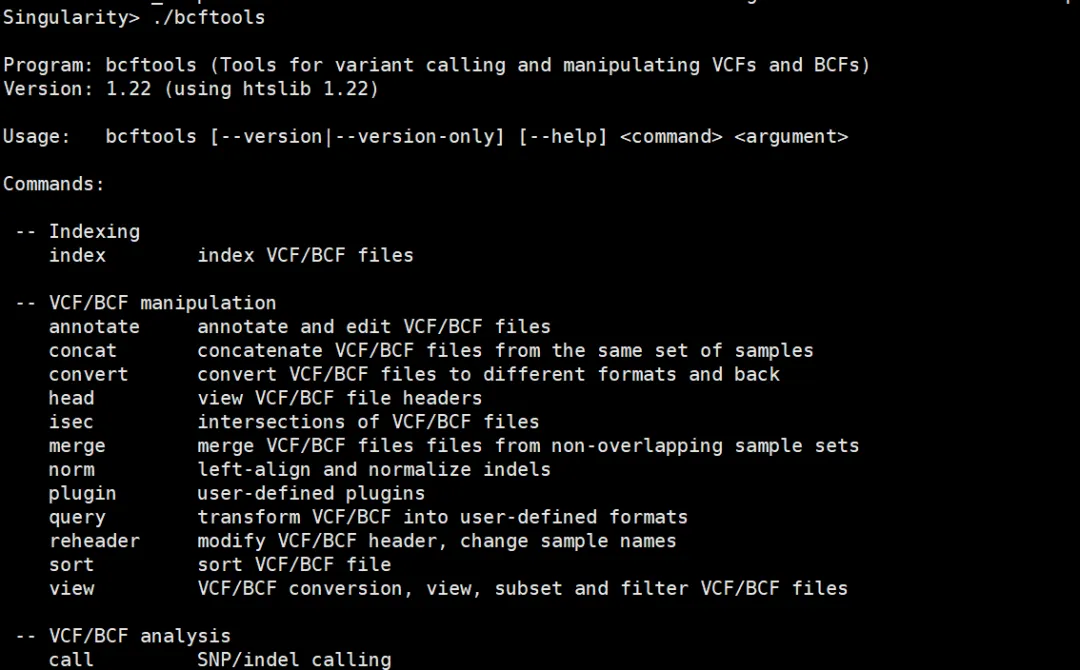
Singularity> ./bcftools Program: bcftools (Tools for variant calling and manipulating VCFs and BCFs)Version: 1.22 (using htslib 1.22)Usage: bcftools [--version|--version-only] [--help] <command> <argument>Commands: -- Indexing index index VCF/BCF files -- VCF/BCF manipulation annotate annotate and edit VCF/BCF files concat concatenate VCF/BCF files from the same set of samples convert convert VCF/BCF files to different formats and back head view VCF/BCF file headers isec intersections of VCF/BCF files merge merge VCF/BCF files files from non-overlapping sample sets norm left-align and normalize indels plugin user-defined plugins query transform VCF/BCF into user-defined formats reheader modify VCF/BCF header, change sample names sort sort VCF/BCF file view VCF/BCF conversion, view, subset and filter VCF/BCF files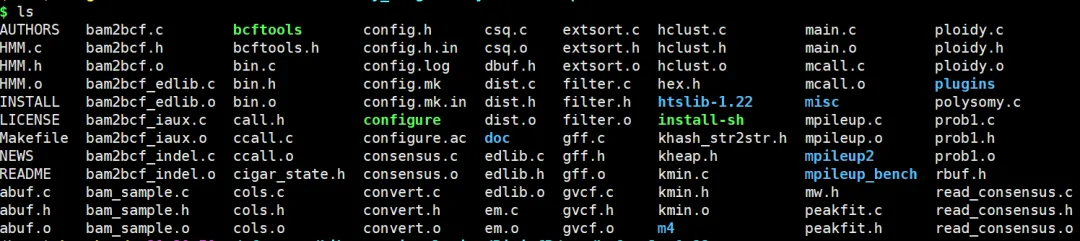
添加到环境变量中
vim BioinfR/environment## 将路径写入保存PATH=$PATH:/opt/bcftools-1.22使用singularity运行
$ singularity exec BioinfR/ bcftools -hWARNING: underlay of /usr/share/zoneinfo/Asia/Taipei required more than 50 (78) bind mountsProgram: bcftools (Tools for variant calling and manipulating VCFs and BCFs)Version: 1.22 (using htslib 1.22)Usage: bcftools [--version|--version-only] [--help] <command> <argument>Commands: -- Indexing index index VCF/BCF files -- VCF/BCF manipulation annotate annotate and edit VCF/BCF files concat concatenate VCF/BCF files from the same set of samples convert convert VCF/BCF files to different formats and back head view VCF/BCF file headers isec intersections of VCF/BCF files merge merge VCF/BCF files files from non-overlapping sample sets norm left-align and normalize indels plugin user-defined plugins query transform VCF/BCF into user-defined formats reheader modify VCF/BCF header, change sample names sort sort VCF/BCF file view VCF/BCF conversion, view, subset and filter VCF/BCF files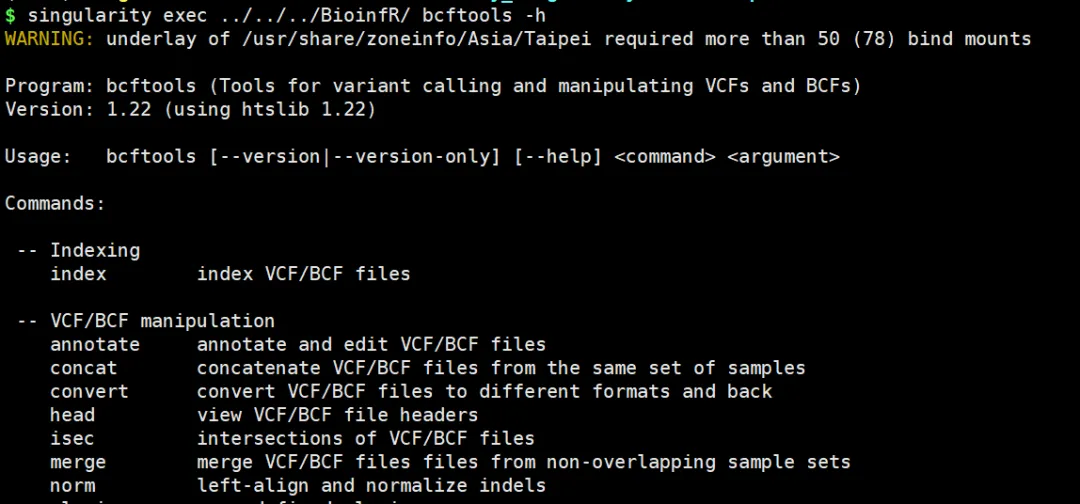
Hisat2 安装
unzip hisat2-2.2.1-Linux_x86_64.zipcd hisat2-2.2.1-Linux_x86_64## 添加环境变量vim ioinfR/environment##输入路径PATH=$PATH:/opt/hisat2-2.2.1Stringtie安装
tar -zxvf stringtie-3.0.1.Linux_x86_64.tar.gz# ## 添加环境变量vim ioinfR/environment##输入路径PATH=$PATH:/opt/stringtie-3.0.1.Linux_x86_64安装samtools软件,进行编译。
查看安装命令
$ cat README##------------The typical simple case of building Samtools using the HTSlib bundled withinthis Samtools release tarball is done as follows: cd .../samtools-1.22 # Within the unpacked release directory ./configure make下载软件
https://github.com/samtools/samtools#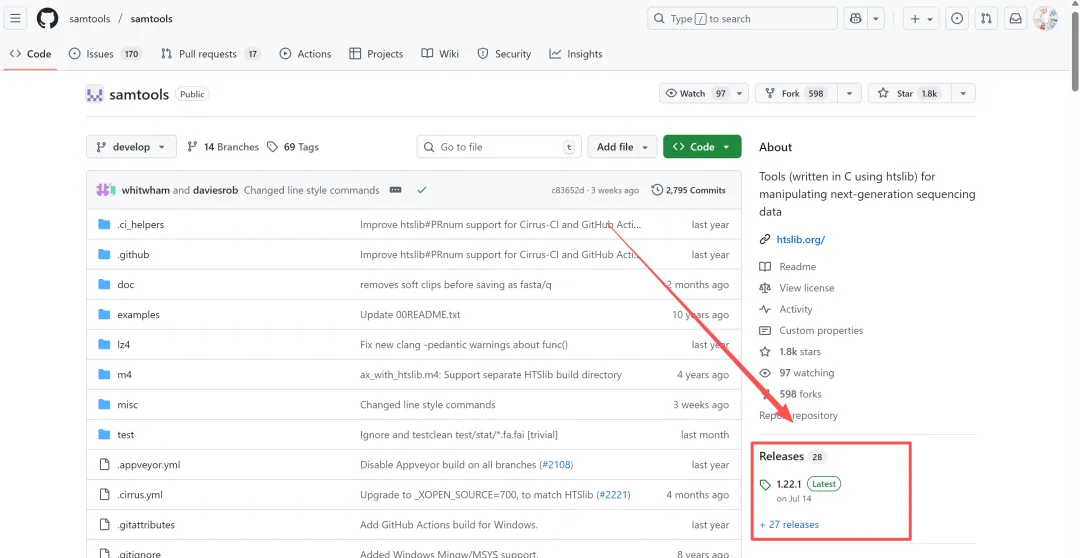
解压与安装
tar -xvjf samtools-1.22.tar.bz2cd samtools-1.22## 安装./configuremake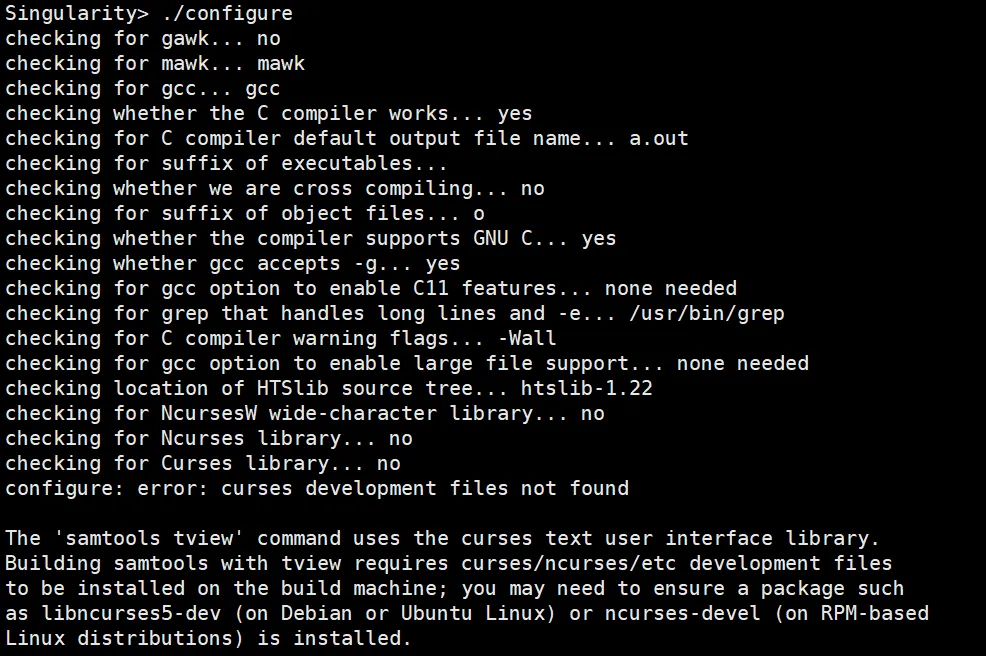
添加环境变量
vim ioinfR/environment##输入路径PATH=$PATH:/opt/samtools-1.22gffread安装
软件网址
https://github.com/gpertea/gffread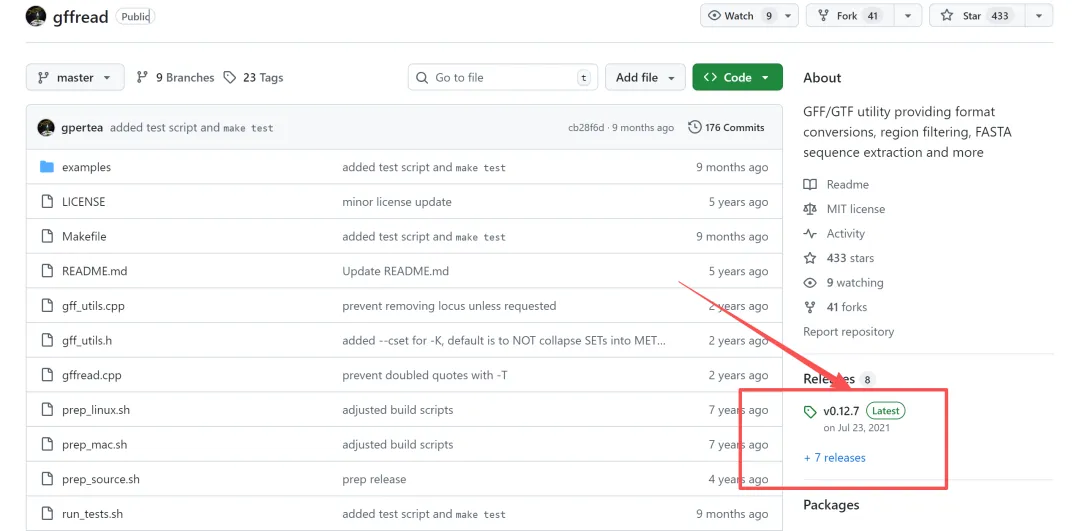
下载
https://github.com/gpertea/gffread/releases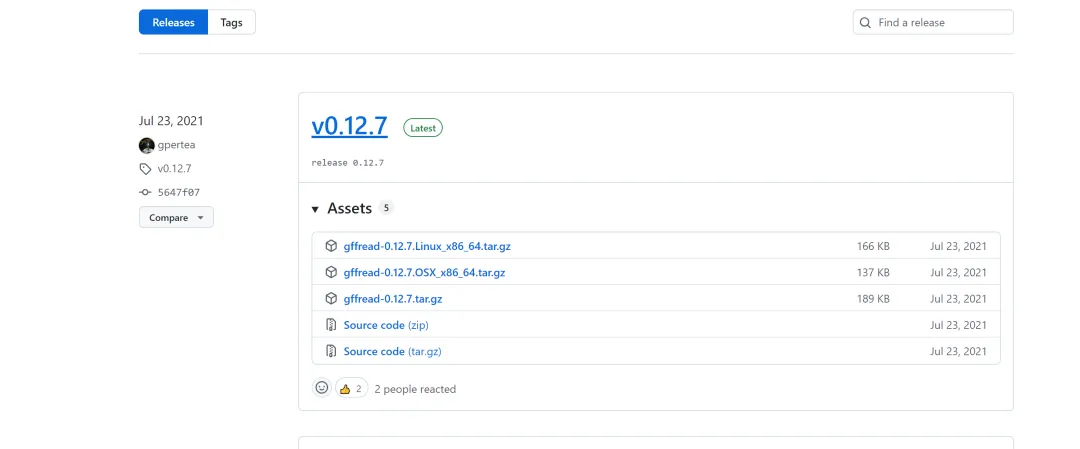
解压与安装
tar -zxvf gffread-0.12.7.Linux_x86_64.tar.gz## cd gffread-0.12.7.Linux_x86_64添加环境变量
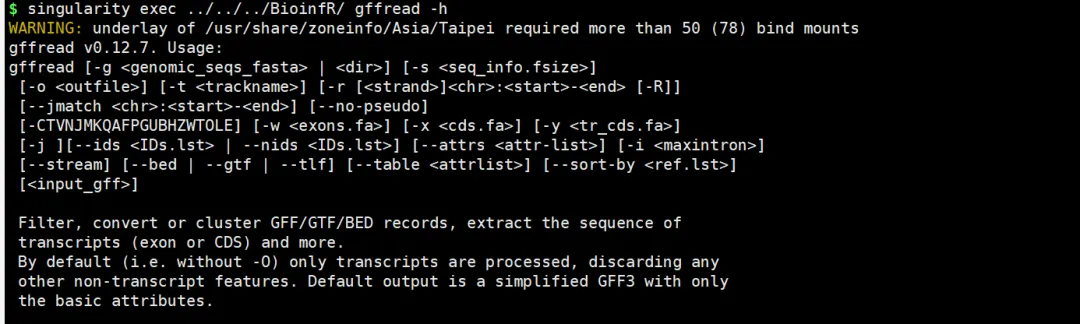
vim ioinfR/environment## 添加路径PATH=$PATH:/opt/gffread-0.12.7.Linux_x86_64安装成功!!
fastp安装
软件网址
https://github.com/OpenGene/fastp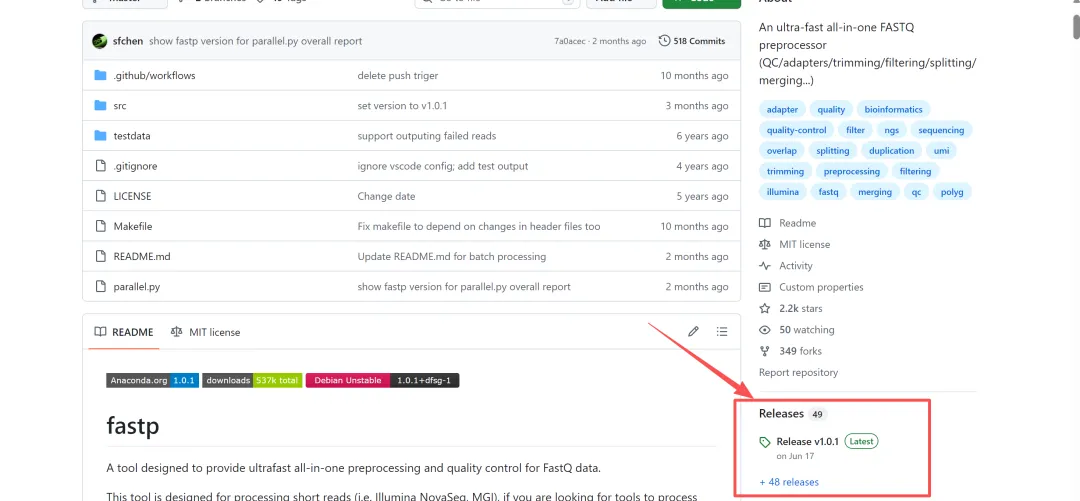
软件下载
https://github.com/OpenGene/fastp/releases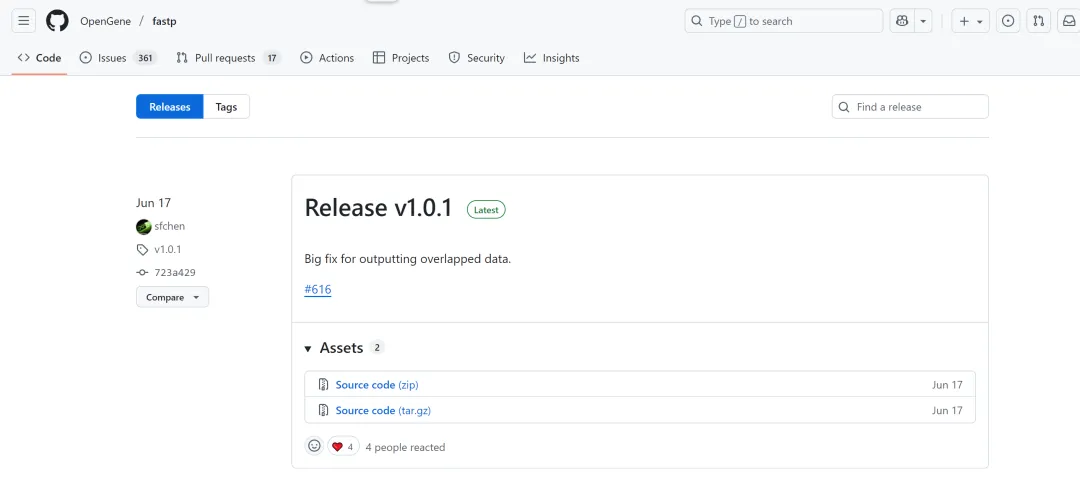
wget https://github.com/OpenGene/fastp/archive/refs/tags/v1.0.1.tar.gz解压与安装
tar -zxvf fastp-1.0.1.tar.gz## cd fastp-1.0.1make -j添加环境变量
vim ioinfR/environment## 添加路径PATH=$PATH:/opt/fastp-1.0.1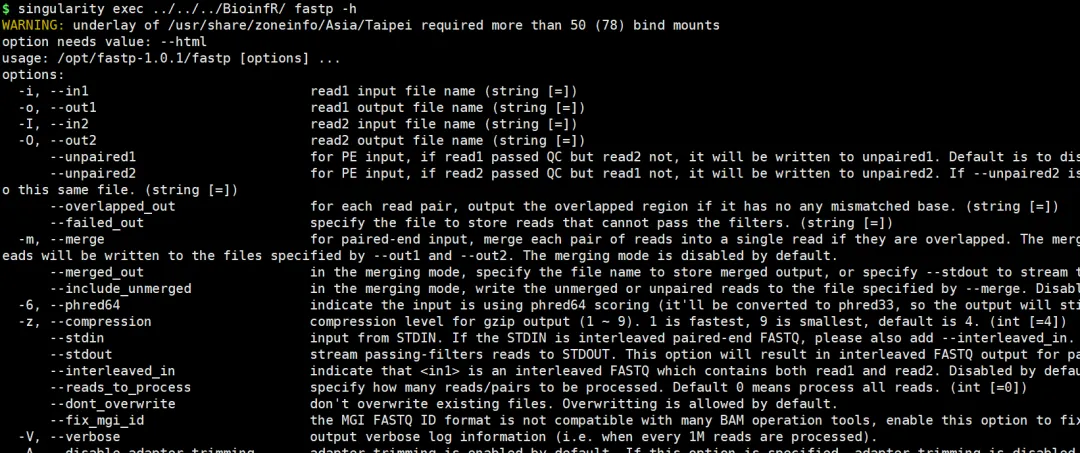
hifiasm安装
查看教程:基于HiFisam软件对HiFi reads 组装
解压
tar -zxvf hifiasm-0.25.0.tar.gz# cd hifiasm-0.25.0/若是不知道如何安装的,可以查看每个软件的README.md。
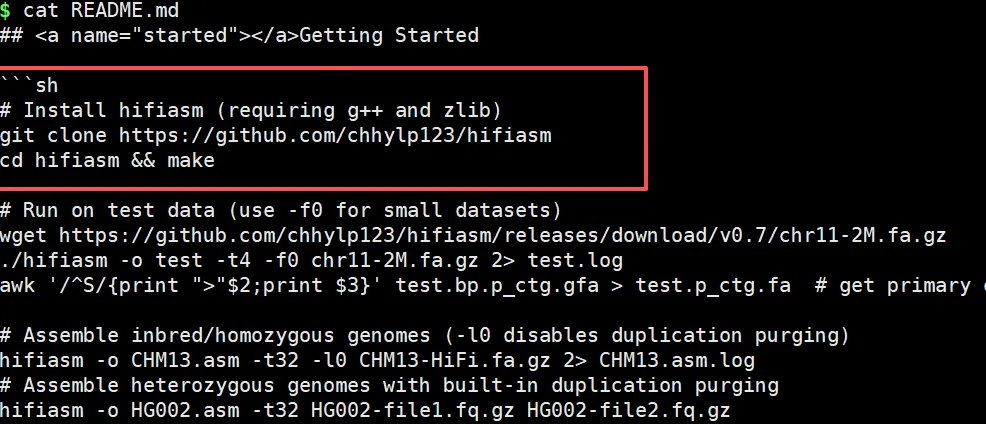
安装
cd hifiasm-0.25.0/make添加环境
vim ioinfR/environment## 添加路径PATH=$PATH:/opt/hifiasm-0.25.0jellyfish安装
可以查看教程:Jellyfish+GenomeScope评估基因组大小
解压
tar -zxvf jellyfish-2.3.1.tar.gz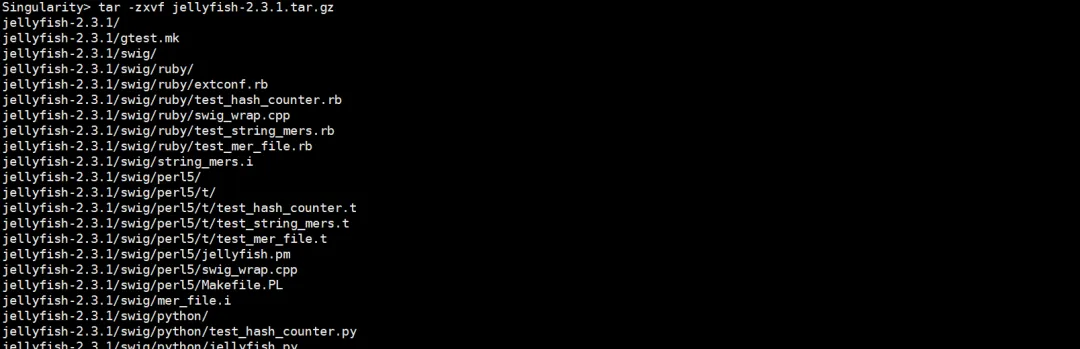
安装
./configure --prefix=$HOMEmake -j 4make install添加环境变量
vim ioinfR/environment## 添加路径PATH=$PATH:/opt/jellyfish-2.3.1/binfasterq-dump多线程解压,prefetch等sra-tools工具
参考教程:如何实现快速解压SRA文件 | 你是使用fastq-dump(单线程)还是pfastq-dump(多线程)
先安装:ncbi-vdb(可选)
https://github.com/ncbi/ncbi-vdb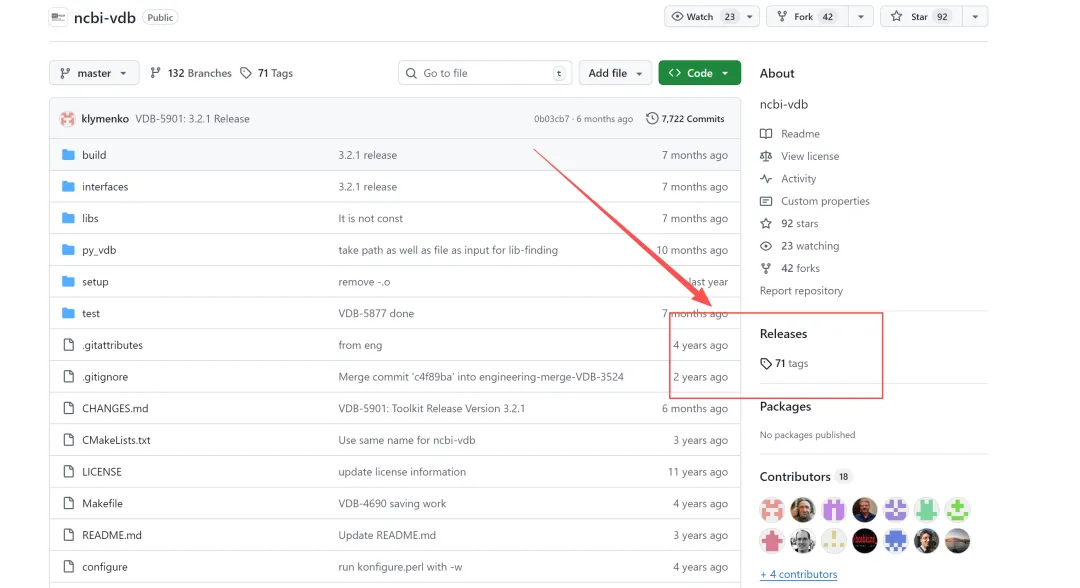
解压
tar -zxvf ncbi-vdb-3.2.1.tar.gzcd ncbi-vdb-3.2.1/## 安装./configuremake -j4make install (-j4 表示并行编译 4 线程,如果 CPU 多可以调大,比如 -j8)
注意:上面部分可以跳过
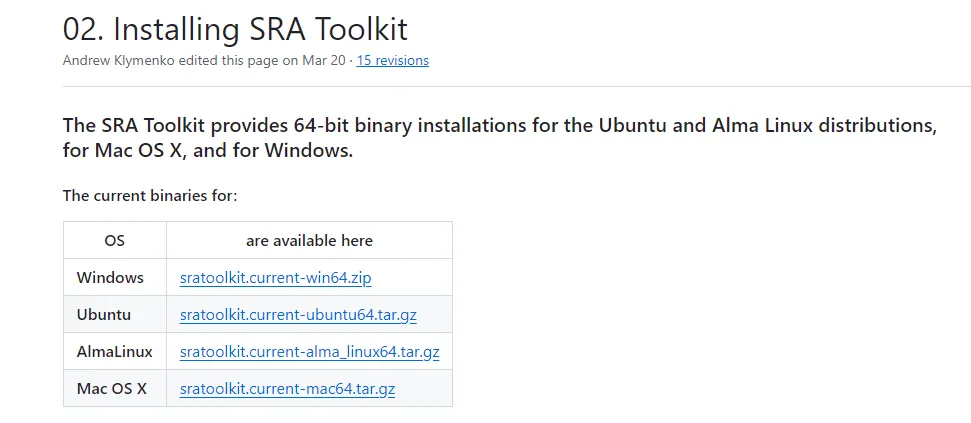
安装教程网址
https://github.com/ncbi/sra-tools/wiki/02.-Installing-SRA-Toolkit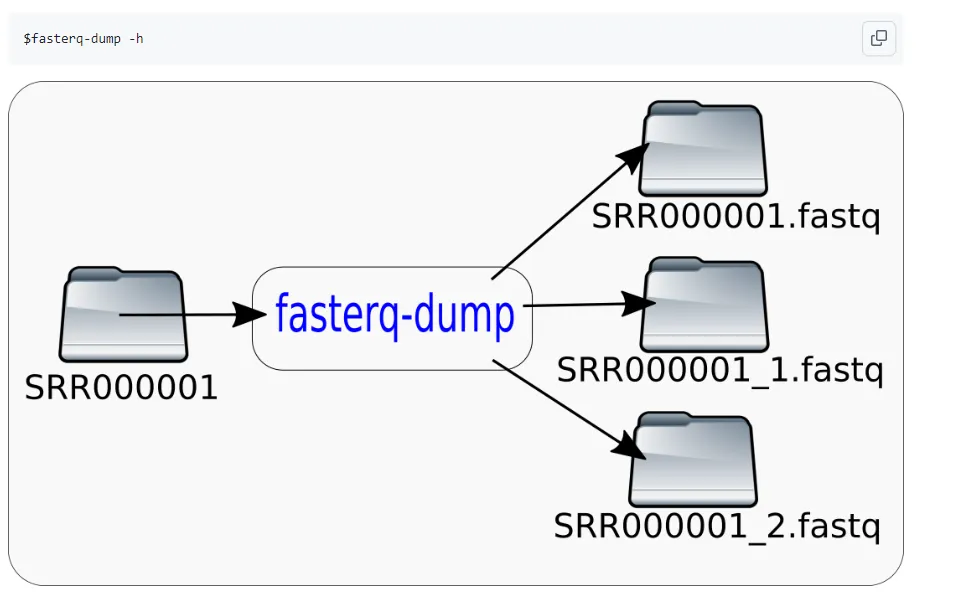
解压与安装
## 解压tar -zxvf sratoolkit.current-ubuntu64.tar.gzcd sratoolkit.3.2.1-ubuntu64/bin## 本软件所有脚本软件
abi-dump cache-mgr fastq-dump.3 illumina-load.3 pacbio-load sam-dump.3 sra-search srapath test-sra.3.2.1 vdb-dump.3 vdb-validate.3abi-dump.3 cache-mgr.3 fastq-dump.3.2.1 illumina-load.3.2.1 pacbio-load.3 sam-dump.3.2.1 sra-search.3 srapath-orig.3.2.1 vdb-config vdb-dump.3.2.1 vdb-validate.3.2.1abi-dump.3.2.1 cache-mgr.3.2.1 fastq-load kar pacbio-load.3.2.1 sff-dump sra-search.3.2.1 srapath.3 vdb-config.3 vdb-encryptabi-load cg-load fastq-load.3 kar.3 prefetch sff-dump.3 sra-sort srapath.3.2.1 vdb-config.3.2.1 vdb-encrypt.3abi-load.3 cg-load.3 fastq-load.3.2.1 kar.3.2.1 prefetch-orig.3.2.1 sff-dump.3.2.1 sra-sort-cg sratools vdb-copy vdb-encrypt.3.2.1abi-load.3.2.1 cg-load.3.2.1 helicos-load kdbmeta prefetch.3 sff-load sra-sort-cg.3 sratools.3 vdb-copy.3 vdb-lockalign-info fasterq-dump helicos-load.3 kdbmeta.3 prefetch.3.2.1 sff-load.3 sra-sort-cg.3.2.1 sratools.3.2.1 vdb-copy.3.2.1 vdb-lock.3align-info.3 fasterq-dump-orig.3.2.1 helicos-load.3.2.1 kdbmeta.3.2.1 rcexplain sff-load.3.2.1 sra-sort.3 srf-load vdb-decrypt vdb-lock.3.2.1align-info.3.2.1 fasterq-dump.3 illumina-dump latf-load rcexplain.3 sra-pileup sra-sort.3.2.1 srf-load.3 vdb-decrypt.3 vdb-unlockbam-load fasterq-dump.3.2.1 illumina-dump.3 latf-load.3 rcexplain.3.2.1 sra-pileup-orig.3.2.1 sra-stat srf-load.3.2.1 vdb-decrypt.3.2.1 vdb-unlock.3bam-load.3 fastq-dump illumina-dump.3.2.1 latf-load.3.2.1 sam-dump sra-pileup.3 sra-stat.3 test-sra vdb-dump vdb-unlock.3.2.1bam-load.3.2.1 fastq-dump-orig.3.2.1 illumina-load ncbi sam-dump-orig.3.2.1 sra-pileup.3.2.1 sra-stat.3.2.1 test-sra.3 vdb-dump-orig.3.2.1 vdb-validate添加环境变量
vim ioinfR/environment## 添加路径PATH=$PARH:/opt/sratoolkit.3.2.1-ubuntu64/binpfastq-dump多线程解压工具
参考教程:如何实现快速解压SRA文件 | 你是使用fastq-dump(单线程)还是pfastq-dump(多线程)
解压
unzip pfastq-dump-0.1.6.zip## cd pfastq-dump-0.1.6/binchmod a+x pfastq-dump添加环境变量
vim ioinfR/environment## 添加路径PATH=$PATJ:/opt/pfastq-dump-0.1.6/binpsRobot安装
解压
tar -zxvf psRobot_v1.2.tar.gzcd psRobot_v1.2/##./configuremakemake install添加环境变量
vim ioinfR/environment## 添加路径PATH=$PATH:/opt/psRobot_v1.2bedtools安装 (注意:安装后,可能singularity环境会错误,建议不在singularity中安装)
下载
https://github.com/arq5x/bedtools2?tab=readme-ov-file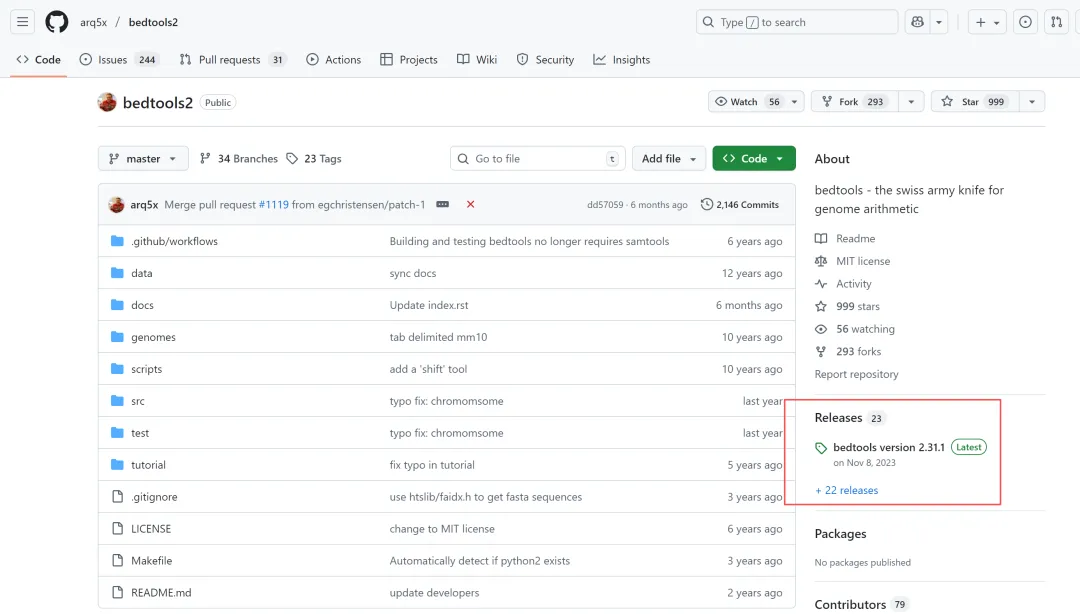
下载
https://github.com/arq5x/bedtools2/releases/tag/v2.31.1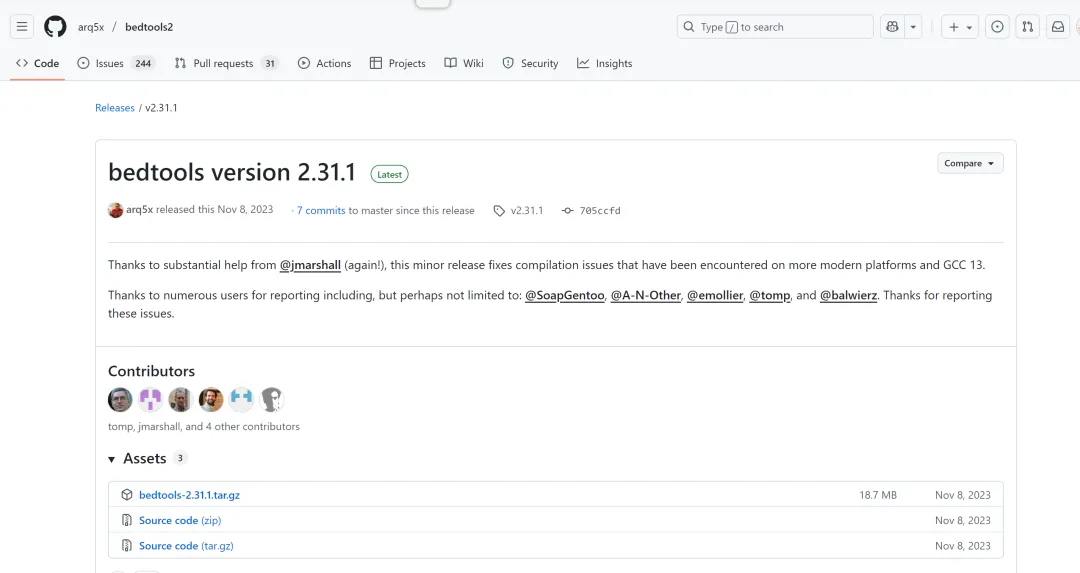
解压与安装
tar -zxvf bedtools-2.31.1.tar.gzcd bedtools2/## 安装/编译make使用教程
https://bedtools.readthedocs.io/en/latest/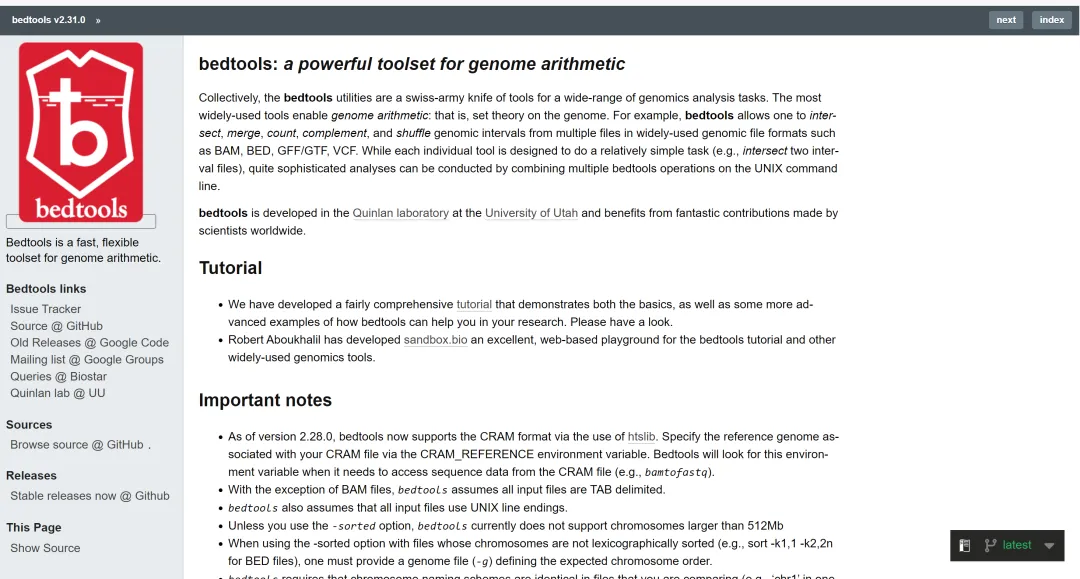
rmblast软件
rmblastn 是 NCBI BLAST+ 套件里的一个可执行程序,它本质上是 BLASTN 的改进版本,用于在进行 核酸序列比对时屏蔽低复杂度区域(low-complexity regions)。
下面详细解释:
1️⃣ 基本概念
BLASTN:用于核酸序列(DNA/RNA)比对的工具,将一个查询序列(query)比对到数据库(database)中找相似序列。 Low-complexity regions(低复杂度区):指序列中重复或组成简单的片段,例如 AAAA、ATATAT 等。这些区域可能导致比对结果假阳性。 **RepeatMasker BLAST (rmblastn)**:是 NCBI BLAST 与 RepeatMasker 协作开发的版本,用于在比对前自动屏蔽这些低复杂度区域,提高比对准确性。
2️⃣ rmblastn 的特点
dust 或 RepeatMasker 提供的屏蔽机制 |
3️⃣ 使用示例
rmblastn -query query.fasta -db nt -out results.out -outfmt 6 -num_threads 4说明:
-query:输入文件-db:比对数据库-out:输出文件-outfmt 6:表格格式输出-num_threads:多线程
注意:如果想禁用低复杂度屏蔽,可以加 -dust no。
下载
https://www.repeatmasker.org/rmblast/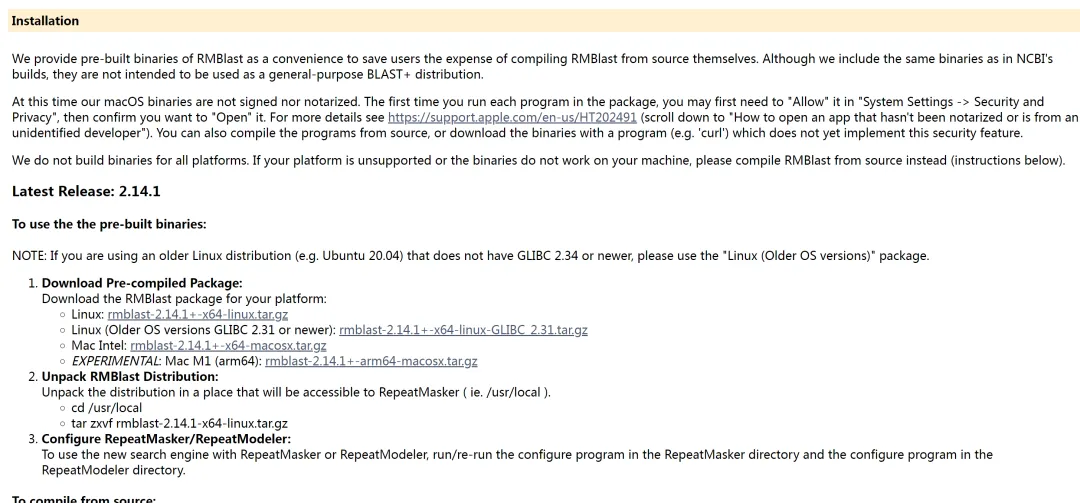
下载所需的环境
apt install -y libgomp1解压与安装
tar -zxvf rmblast-2.14.1+-x64-linux.tar.gzcd rmblast-2.14.1## 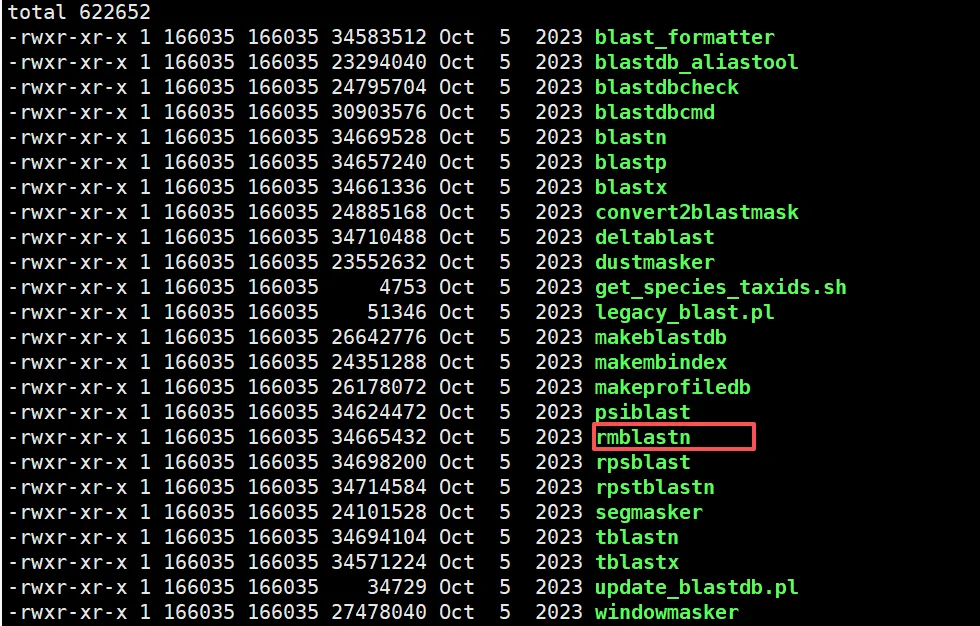
添加环境变量
vim ioinfR/environment## 添加路径PATH=$PATH:/opt/rmblast-2.14.1/bin打包
打包成*.sif文件
singularity build -f blast.sif blast/若我们的教程对你有所帮助,请
点赞+收藏+转发,这是对我们最大的支持。
欢迎关注《BioinfoR生信笔记》
关于自我简介可查看「BioinfoR生信筆記」关注须知! BioinfoR生信筆記,仅有微信社群。关于社群请详细查看「BioinfoR生信筆記」入群声明,里面有你想了解的内容。
由于微信改版,一直有同学反映。存在长时间接收不到公众号的推文。那么请跟随以下步骤,将BioinfoR生信筆記设置为星标,不错过每一条推文教程。

小杜的生信筆記 ,注于分享生物信息学相关知识和R语言绘图教程。发表论文投稿及招聘信息请使用word格式或MarkDown格式发送到bioinfor2025@163.com,均为无偿。
2025已离你我而去,2026加油!!
往期部分文章
1. 最全WGCNA教程(替换数据即可出全部结果与图形)
推荐大家购买最新的教程,若是已经购买以前WGNCA教程的同学,可以在对应教程留言,即可获得最新的教程。(注:此教程也仅基于自己理解,不仅局限于此,难免有不恰当地方,请结合自己需求,进行改动。)
2. 精美图形绘制教程
3. 转录组分析教程
4. 转录组下游分析
小杜的生信筆記 ,注于分享生物信息学相关知识和R语言绘图教程。
