紧接上篇“从Pytorch到FPGA:搭建你的第一个机器学习加速器”的逻辑版本,这次完成了将linux部署到FPGA上,并完成与部署在FPGA上的NPU的通信,实现一个完整应用。第一步:Vivado硬件设计——把Tensil NPU放进系统
这一步在第一篇文章中已经涉及了这里不再详细说明了,具体操作请参照前一篇的文档。这里我们需要把设计好的NPU的hdf文件拷贝到ubuntu的petalinux的工程中第二步:PetaLinux构建——编译你的专属Linux系统
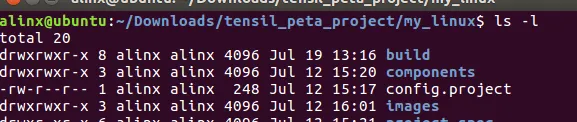
首先,创建petalinux工程完成对linux的kernel,boot,rootfs,设备树的配置。创建工程的命令如下:petalinux-create -t project --name my_linux --template zynq
改名命令创建了一个名为my_linux的工程,创建结果如下图所示:
其次,进入到该目录下运行如下命令
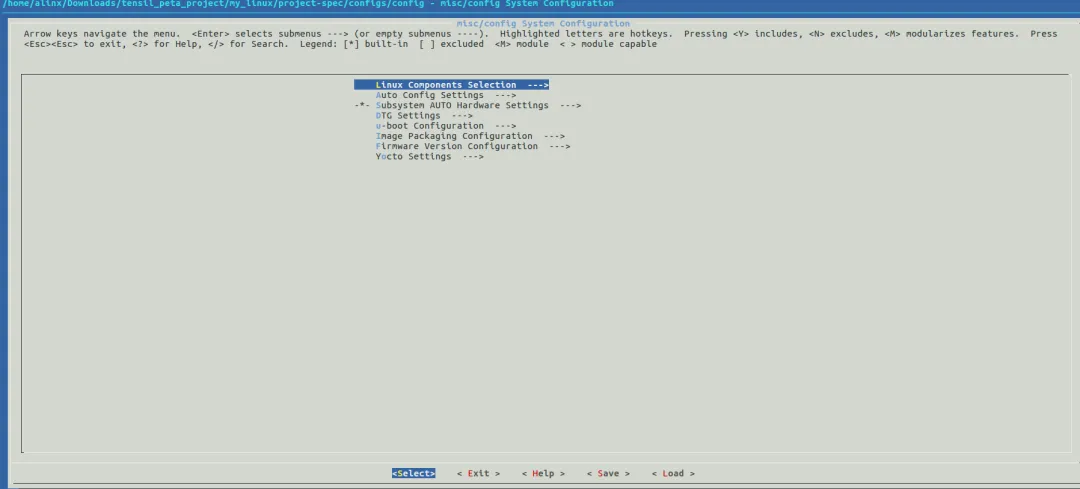
petalinux-config --get-hw-description=/home/alinx/Downloads/tensil_peta_project/tensil_pynqz1.sdk
该命令将硬件设计文件hdf(硬件描述文件)导入到petalinux的工程中,完成对硬件信息的提取,并进入到配置界面,如下所示:
做过linux开发的人看到该页面应该是很熟悉的,使用方法和其他嵌入式开发是类似的,这里不再介绍如何配置
接着,完成对linux驱动的代码的编写,创建linux驱动代码的方法如下
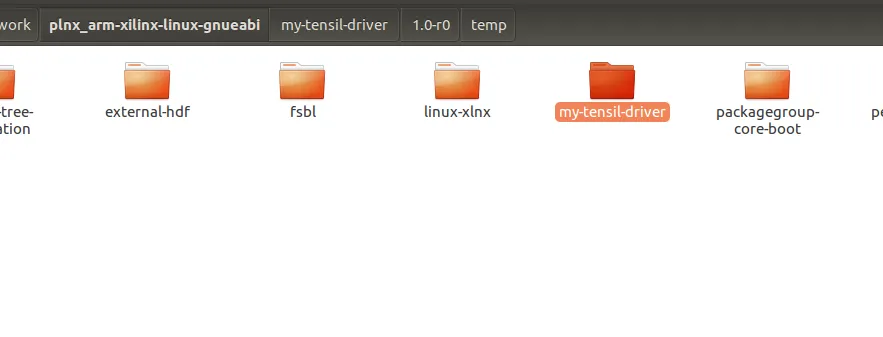
petalinux-create -t modules --name my-tensil-driver --enable
my-tensil-driver就是创建的linux驱动模块如下图所示:
下面是NPU在linux中的驱动代码片段
.......static const struct of_device_id tensil_tcu_of_match[] = { { .compatible = "tensil,tcu", }, { /* sentinel */ },};MODULE_DEVICE_TABLE(of, tensil_tcu_of_match);static struct platform_driver tensil_tcu_driver = { .probe = tensil_tcu_probe, .remove = tensil_tcu_remove, .driver = { .name = DRIVER_NAME, .of_match_table = tensil_tcu_of_match, },};module_platform_driver(tensil_tcu_driver);MODULE_LICENSE("GPL v2");MODULE_AUTHOR("MY NPU");MODULE_DESCRIPTION(DRIVER_DESC);MODULE_VERSION(DRIVER_VERSION);
然后,添加设备树节点,由于是自定义的设备,所以需要手动的将设备添加到设备树中,如下所示
/include/ "system-conf.dtsi"/ { &amba { tensil_npu@0x08000000 { compatible = "generic-uio"; reg = <0x0 0x08000000 0x0 0x10000>; }; };};
然后,调用下面的命令完成rootfs的配置
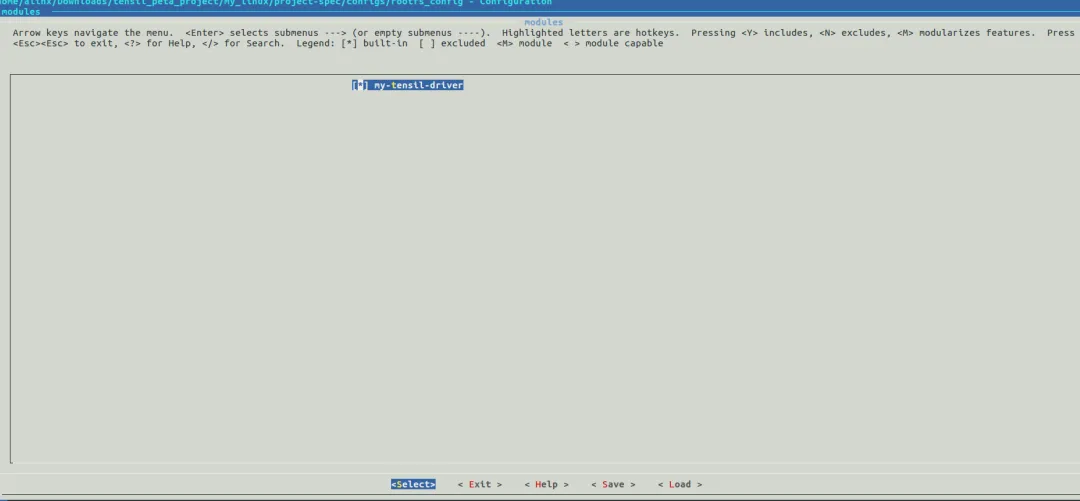
petalinux-config -c rootfs
运行后如下图所示,我们编写的驱动程序被加载到rootfs里面了
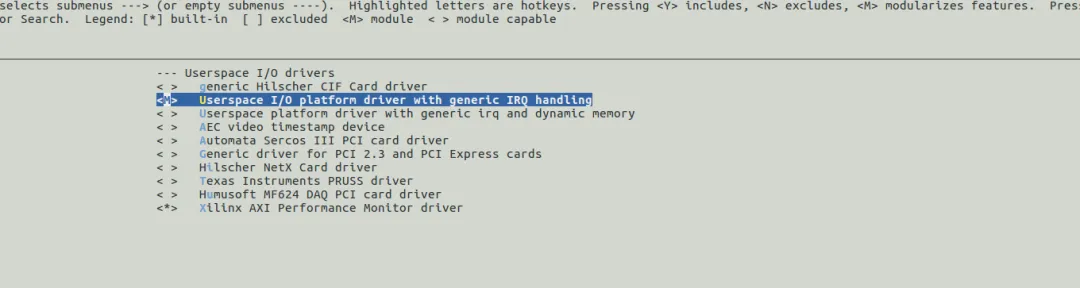
调用下面的命令完成对kernel的配置,将UIO和UIO Platform Dirver打开
petalinux-config -c kernel
最后,调用下面的命令去编译整个linux
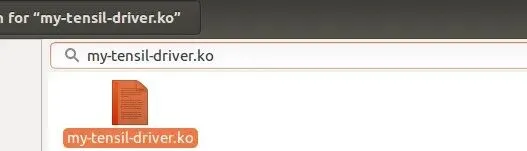
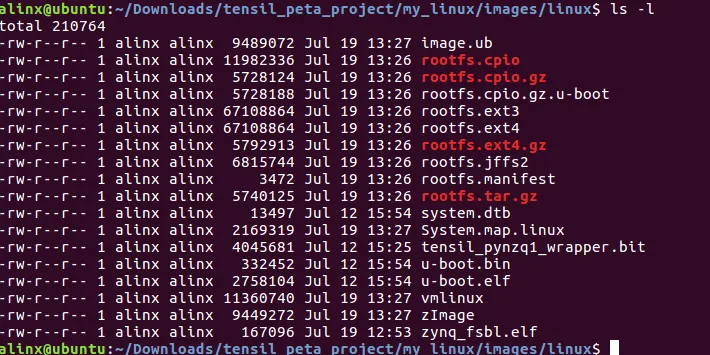
下图是我们编译生成的驱动模块my-tensil-dirver.ko和启动linux时用的相关image将编译生成的内核,设备树,rootfs打包到SD卡中,通过如下命令
petalinux-package --boot --fsbl images/linux/zynqmp_fsbl.elf --u-boot --fpga images/linux/system.bit
打包后,将UBOOT.bin和image.ub复制到SD卡中,将FPGA的开发板启动模式切换到SD卡启动模式。
第四步:NPU验证
上面的驱动已经完成了,后面需要在linux的用户空间打开NPU的设备
1)通过下面的代码打开NPU的设备
/* ============================================================ * Step 1: Open device (equivalent to init_platform + driver_init) * ============================================================ */ ctx = tensil_tcu_open();if (!ctx) { fprintf(stderr, "FAILED: tensil_tcu_open()\n""Is the kernel module loaded? (sudo insmod tensil-tcu.ko)\n");return 1; } printf("[1] Device opened: /dev/tensil-tcu\n");
2)加载.tmodel文件
/* ============================================================ * Step 2: Load .tmodel file (equivalent to tensil_model_from_file) * ============================================================ */printf("[2] Loading model from %s...\n", tmodel_path);if (tensil_tcu_model_from_file(&model, tmodel_path) != 0) {fprintf(stderr, "FAILED: tensil_tcu_model_from_file()\n"); tensil_tcu_close(ctx);return 1; }
3)加载神经网络模型
/* ============================================================ * Step 3: Load model into driver * (equivalent to tensil_driver_load_model) * ============================================================ */printf("[3] Loading model into driver...\n");if (tensil_tcu_load_model(ctx, &model) != 0) {fprintf(stderr, "FAILED: tensil_tcu_load_model()\n");tensil_tcu_close(ctx);return 1; }
4)加载并处理待测试bmp文件
if (load_cifar_image(image_path, red, green, blue, &expected_label) != 0) {fprintf(stderr, "FAILED: load_cifar_image()\n");tensil_tcu_close(ctx);return 1; }preprocess_image(red, green, blue, input_data);
5)加载模型使用的参数
/* ============================================================ * Step 5: Load input scalars to DRAM0 * (equivalent to tensil_driver_load_model_input_scalars) * ============================================================ */ printf("[5] Loading input \"%s\" (%d scalars) to DRAM0...\n", model.inputs[0].name, CIFAR_TOTAL_PIXELS);if (tensil_tcu_load_input_scalars(ctx, &model, model.inputs[0].name, CIFAR_TOTAL_PIXELS, input_data) != 0) { fprintf(stderr, "FAILED: tensil_tcu_load_input_scalars()\n"); tensil_tcu_close(ctx);return 1; }
6)运行模型
/* ============================================================ * Step 6: Run inference * (equivalent to tensil_driver_run) * ============================================================ */printf("[6] Running inference...\n");if (tensil_tcu_run(ctx) != 0) {fprintf(stderr, "FAILED: tensil_tcu_run()\n");tensil_tcu_close(ctx);return 1; }
7)获取NPU推理结果
/* ============================================================ * Step 7: Get output scalars from DRAM0 * (equivalent to tensil_driver_get_model_output_scalars) * ============================================================ */ printf("[7] Reading output \"%s\" (%d scalars) from DRAM0...\n", model.outputs[0].name, CIFAR_NUM_CLASSES);if (tensil_tcu_get_output_scalars(ctx, &model, model.outputs[0].name, CIFAR_NUM_CLASSES, output_data) != 0) { fprintf(stderr, "FAILED: tensil_tcu_get_output_scalars()\n"); tensil_tcu_close(ctx);return 1; }
以上是一个完整的从pytorch到硬件,然后在linux上完成应用的开发,但是在开发工程中要注意设备树中的compatible这个属性以及自定义设备的内存地址,另外,要对petalinux的开发很熟悉,包括BSP和kernel的配置一以及在Linux上应用的开发。还要熟悉如何实现自定义硬件的指令集,这部分可以参考 “从指令到硬件:在 Chipyard 中实现 RoCC 自定义加速器”的文章。
希望这篇文章能起到抛砖引玉的作用,谢谢大家。