Python打造你的专属AI语音助手!通义千问+Edge-TTS全栈实现,开箱即用
在大模型技术全面普及的今天,拥有一个属于自己的AI助手早已不再是遥不可及的梦想。你是否也曾幻想过,上传一张自己喜欢的头像,就能拥有一个会说话、能思考的专属AI伙伴?它可以陪你聊天、解答问题、甚至用温柔的声音为你朗读回复。
很多人觉得开发这样的AI应用需要掌握复杂的前端框架、后端架构和深度学习技术,但实际上,借助成熟的云服务API和开源工具,我们只用不到200行Python代码就能搭建出一个功能完整、界面精美的AI语音问答助手。
今天要分享的这个项目,集成了阿里云通义千问的强大对话能力和微软Edge-TTS的免费语音合成技术,后端采用高性能的FastAPI框架,前端使用Tailwind CSS打造了现代化的响应式界面。它支持自定义头像上传、多轮自然对话、一键语音播放,所有功能开箱即用,即使是编程新手也能在10分钟内完成部署。
这个项目不仅是一个极佳的全栈开发入门案例,还可以轻松拓展为智能客服、虚拟数字人、有声读物生成器等多种实用工具。接下来,我们将从架构设计、核心代码到部署测试,一步步带你打造属于自己的AI语音助手。
一、项目整体架构与基础配置
本项目采用前后端分离的轻量级架构,技术栈简洁高效,没有任何冗余依赖:
- AI能力:阿里云通义千问API(提供自然语言对话)
- 语音合成:Edge-TTS(微软免费语音合成服务,无需API密钥)
- 前端:原生JavaScript + Tailwind CSS(无需构建工具,直接运行)
1.1 基础配置与初始化
首先我们需要导入所需的依赖库,并进行全局配置。这部分代码定义了项目的所有可配置项,你可以根据自己的需求轻松修改模型、音色、服务器端口等参数。
import osimport uuidimport asynciofrom pathlib import Pathfrom fastapi import FastAPI, UploadFile, File, HTTPExceptionfrom fastapi.responses import FileResponse, HTMLResponsefrom fastapi.staticfiles import StaticFilesfrom pydantic import BaseModelimport requestsimport edge_tts# ====================== 配置区域 - 请根据你的实际情况修改 ======================# 阿里云通义千问API密钥(替换为你的真实API密钥)ALIYUN_API_KEY = "你的通义千问API密钥"# 通义千问模型名称ALIYUN_MODEL_NAME = "qwen-turbo"# 语音合成音色(可选:zh-CN-XiaoyiNeural、zh-CN-YunjianNeural等)DEFAULT_VOICE = "zh-CN-XiaoxiaoNeural"# 服务器监听地址和端口HOST = "0.0.0.0"PORT = 8000# 输出目录配置OUTPUT_DIR = Path("./output")STATIC_DIR = Path("./static")# ============================================================================
1.2 FastAPI应用初始化
接下来初始化FastAPI应用,创建必要的文件目录,并挂载静态文件服务。FastAPI会自动为我们生成API文档,访问http://localhost:8000/docs即可查看和测试所有接口。
# 初始化FastAPI应用app = FastAPI(title="AI图片问答助手")# 创建必要的目录OUTPUT_DIR.mkdir(exist_ok=True)STATIC_DIR.mkdir(exist_ok=True)(STATIC_DIR / "audios").mkdir(exist_ok=True) # 音频存储目录# 挂载静态文件目录app.mount("/static", StaticFiles(directory="static"), name="static")
1.3 数据模型定义
使用Pydantic定义请求数据模型,FastAPI会自动对请求数据进行类型验证和格式检查,确保接口的安全性和健壮性。
# 请求数据模型classChatRequest(BaseModel): message: str image_path: str # 上传的头像图片路径(前端显示用)classTTSRequest(BaseModel): text: str # 需要转语音的文本# 全局变量存储对话历史(最多保留10轮)conversation_history = []
二、两大核心功能模块解析
项目的核心能力由通义千问对话模块和Edge-TTS语音合成模块组成,这两个模块相互独立,便于后续替换和升级。
2.1 通义千问对话模块
这个模块负责与阿里云通义千问API进行交互,实现自然语言对话功能。我们维护了一个全局的对话历史列表,让AI能够理解上下文,实现多轮连贯对话。
asyncdefcall_qwen(message: str) -> str:"""调用通义千问API进行对话""" url = "https://dashscope.aliyuncs.com/api/v1/services/aigc/text-generation/generation" headers = {"Authorization": f"Bearer {ALIYUN_API_KEY}","Content-Type": "application/json" }# 构建对话历史 messages = conversation_history.copy() messages.append({"role": "user", "content": message}) data = {"model": ALIYUN_MODEL_NAME,"input": {"messages": messages},"parameters": {"result_format": "message"} }try: response = requests.post(url, headers=headers, json=data) response.raise_for_status() result = response.json() assistant_message = result["output"]["choices"][0]["message"]["content"] conversation_history.append({"role": "assistant", "content": assistant_message})# 限制历史长度,避免上下文过长导致token超限if len(conversation_history) > 10: conversation_history.pop(0) conversation_history.pop(0)return assistant_messageexcept Exception as e:raise HTTPException(status_code=500, detail=f"通义千问调用失败: {str(e)}")
2.2 Edge-TTS语音合成模块
Edge-TTS是微软提供的免费语音合成服务,支持多种语言和音色,音质接近真人。这个模块将AI的文本回复转换为MP3音频文件,供前端播放。
asyncdeftext_to_speech(text: str, output_path: str, voice: str = DEFAULT_VOICE):"""将文本转换为语音""" communicate = edge_tts.Communicate(text, voice)await communicate.save(output_path)
三、API接口与前端交互设计
我们设计了三个简洁的RESTful API接口,分别处理图片上传、对话请求和语音生成。前端通过Fetch API与后端进行交互,实现流畅的用户体验。
3.1 核心API接口
@app.post("/upload-image")asyncdefupload_image(file: UploadFile = File(...)):"""上传头像图片接口"""# 验证文件格式ifnot file.filename.lower().endswith(('.png', '.jpg', '.jpeg')):raise HTTPException(status_code=400, detail="只支持PNG和JPG格式的图片")# 生成唯一文件名,避免重名 file_ext = Path(file.filename).suffix file_id = str(uuid.uuid4()) save_path = STATIC_DIR / f"{file_id}{file_ext}"# 保存上传的文件with open(save_path, "wb") as buffer: buffer.write(await file.read())return {"image_path": str(save_path),"image_url": f"/static/{file_id}{file_ext}" }@app.post("/chat")asyncdefchat(request: ChatRequest):"""处理对话请求,返回文本回复"""try: reply_text = await call_qwen(request.message)return {"text": reply_text}except Exception as e:raise HTTPException(status_code=500, detail=str(e))@app.post("/text-to-speech")asyncdefgenerate_tts(request: TTSRequest):"""文本转语音接口,点击播放时调用"""try: audio_id = str(uuid.uuid4()) audio_path = STATIC_DIR / "audios" / f"{audio_id}.mp3"await text_to_speech(request.text, str(audio_path))return {"audio_url": f"/static/audios/{audio_id}.mp3"}except Exception as e:raise HTTPException(status_code=500, detail=f"语音生成失败: {str(e)}")
3.2 前端页面实现
前端使用Tailwind CSS实现了现代化的响应式界面,分为左侧头像上传区和右侧对话区。所有交互逻辑都使用原生JavaScript实现,无需任何前端构建工具,直接在浏览器中运行。
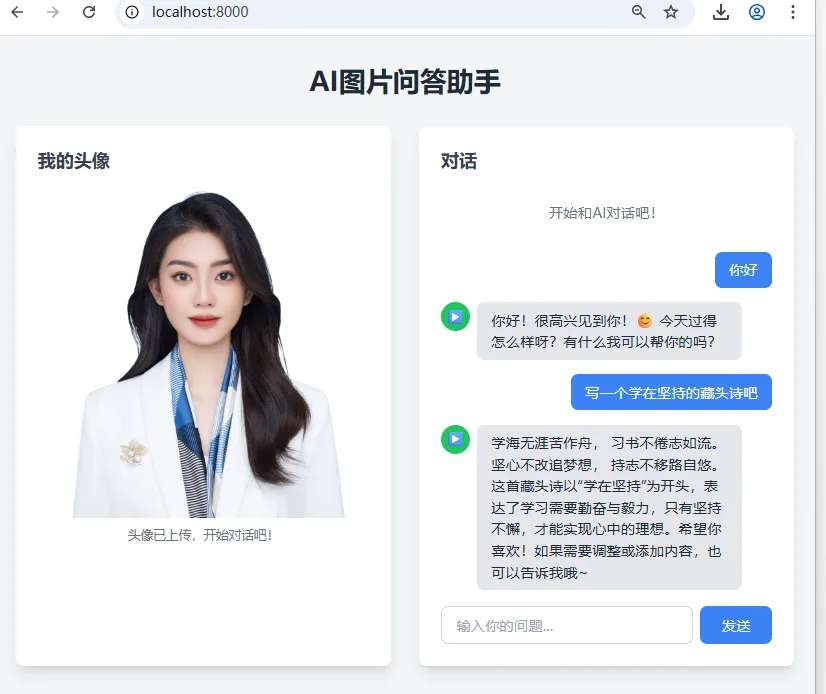
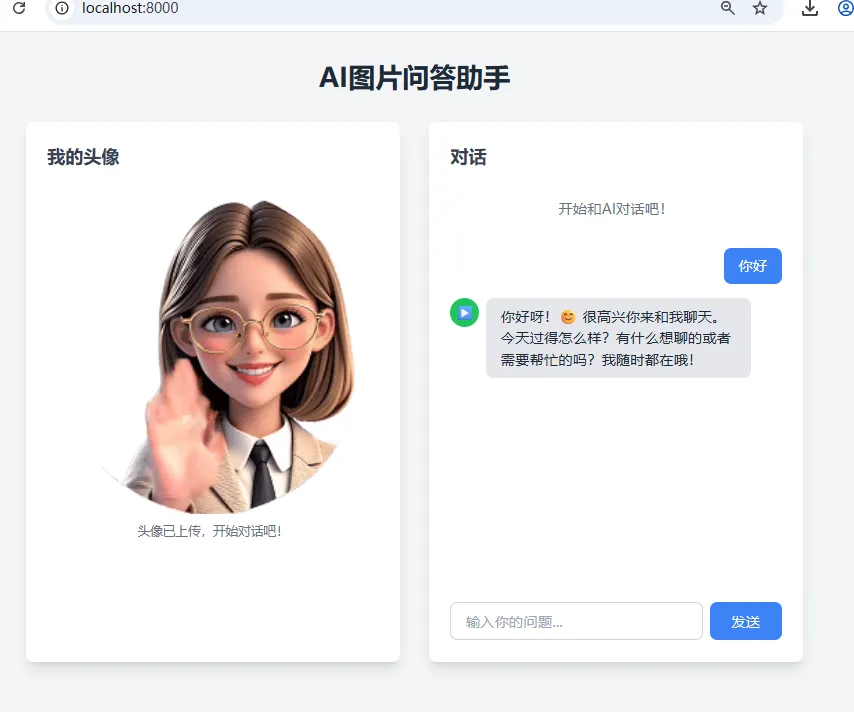
@app.get("/", response_class=HTMLResponse)asyncdefget_index():"""返回前端页面"""return"""<!DOCTYPE html><html lang="zh-CN"><head> <meta charset="UTF-8"> <meta name="viewport" content="width=device-width, initial-scale=1.0"> <title>AI图片问答助手</title> <script src="https://cdn.tailwindcss.com"></script></head><body class="bg-gradient-to-br from-blue-50 to-indigo-100 min-h-screen"> <div class="container mx-auto px-4 py-8 max-w-4xl"> <h1 class="text-4xl font-bold text-center mb-8 bg-gradient-to-r from-blue-600 to-indigo-600 bg-clip-text text-transparent"> 我的专属AI语音助手 </h1> <div class="grid grid-cols-1 md:grid-cols-2 gap-8"> <!-- 左侧:头像显示区域 --> <div class="bg-white rounded-2xl shadow-xl p-6 transform hover:scale-[1.02] transition-transform duration-300"> <h2 class="text-2xl font-semibold mb-4 text-gray-700">我的头像</h2> <!-- 图片上传区域 --> <div id="upload-area" class="border-2 border-dashed border-gray-300 rounded-xl p-12 text-center mb-4 cursor-pointer hover:border-blue-500 hover:bg-blue-50 transition-all duration-300"> <input type="file" id="image-input" accept="image/*" class="hidden"> <div class="text-6xl mb-4 text-gray-400">📷</div> <p class="text-gray-500 text-lg">点击上传一张头像照片</p> </div> <!-- 头像显示区域 --> <div id="avatar-container" class="hidden"> <img id="avatar-img" class="w-full rounded-xl object-cover aspect-square shadow-lg" alt="我的头像"> <p class="text-sm text-gray-500 text-center mt-4">头像已上传,开始和AI对话吧!</p> </div> </div> <!-- 右侧:聊天区域 --> <div class="bg-white rounded-2xl shadow-xl p-6 flex flex-col h-[650px] transform hover:scale-[1.02] transition-transform duration-300"> <h2 class="text-2xl font-semibold mb-4 text-gray-700">对话</h2> <!-- 聊天消息区域 --> <div id="chat-messages" class="flex-1 overflow-y-auto mb-4 space-y-4 scroll-smooth"> <div class="text-center text-gray-500 py-12"> <div class="text-5xl mb-4">🤖</div> <p class="text-lg">请先上传头像,然后开始对话</p> </div> </div> <!-- 输入区域 --> <div class="flex gap-2"> <input type="text" id="message-input" class="flex-1 px-4 py-3 border border-gray-300 rounded-xl focus:outline-none focus:ring-2 focus:ring-blue-500 focus:border-transparent transition-all" placeholder="输入你的问题..." disabled > <button id="send-button" class="px-6 py-3 bg-gradient-to-r from-blue-500 to-indigo-500 text-white rounded-xl hover:from-blue-600 hover:to-indigo-600 disabled:from-gray-400 disabled:to-gray-400 disabled:cursor-not-allowed transition-all duration-300 shadow-lg hover:shadow-xl" disabled > 发送 </button> </div> </div> </div> </div> <!-- 隐藏的音频播放器 --> <audio id="audio-player" class="hidden"> <script> let currentImagePath = null; let currentAudio = null; // DOM元素 const uploadArea = document.getElementById('upload-area'); const imageInput = document.getElementById('image-input'); const avatarContainer = document.getElementById('avatar-container'); const avatarImg = document.getElementById('avatar-img'); const chatMessages = document.getElementById('chat-messages'); const messageInput = document.getElementById('message-input'); const sendButton = document.getElementById('send-button'); const audioPlayer = document.getElementById('audio-player'); // 上传图片 uploadArea.addEventListener('click', () => imageInput.click()); imageInput.addEventListener('change', async (e) => { const file = e.target.files[0]; if (!file) return; // 显示预览 const reader = new FileReader(); reader.onload = (e) => { avatarImg.src = e.target.result; uploadArea.classList.add('hidden'); avatarContainer.classList.remove('hidden'); }; reader.readAsDataURL(file); // 上传到服务器 const formData = new FormData(); formData.append('file', file); try { const response = await fetch('/upload-image', { method: 'POST', body: formData }); const result = await response.json(); currentImagePath = result.image_path; // 启用输入 messageInput.disabled = false; sendButton.disabled = false; chatMessages.innerHTML = '<div class="text-center text-gray-500 py-4">开始和AI对话吧!</div>'; } catch (error) { alert('图片上传失败: ' + error.message); } }); // 发送消息 async function sendMessage() { const message = messageInput.value.trim(); if (!message || !currentImagePath) return; messageInput.value = ''; addMessage('user', message); messageInput.disabled = true; sendButton.disabled = true; const loadingId = addLoadingMessage(); try { const response = await fetch('/chat', { method: 'POST', headers: {'Content-Type': 'application/json'}, body: JSON.stringify({ message: message, image_path: currentImagePath }) }); const result = await response.json(); removeLoadingMessage(loadingId); addMessage('ai', result.text); } catch (error) { removeLoadingMessage(loadingId); addMessage('system', '发生错误: ' + error.message); } finally { messageInput.disabled = false; sendButton.disabled = false; messageInput.focus(); } } // 添加消息到聊天框 function addMessage(type, content) { const messageDiv = document.createElement('div'); messageDiv.className = type === 'user' ? 'flex justify-end' : type === 'system' ? 'flex justify-center' : 'flex justify-start items-start gap-3'; const bubbleDiv = document.createElement('div'); bubbleDiv.className = type === 'user' ? 'bg-gradient-to-r from-blue-500 to-indigo-500 text-white px-4 py-3 rounded-xl max-w-[80%] shadow-md' : type === 'system' ? 'bg-red-100 text-red-700 px-4 py-2 rounded-xl text-sm' : 'bg-gray-100 text-gray-800 px-4 py-3 rounded-xl max-w-[80%] shadow-md'; bubbleDiv.textContent = content; messageDiv.appendChild(bubbleDiv); // AI消息添加播放按钮 if (type === 'ai') { const playButton = document.createElement('button'); playButton.className = 'flex-shrink-0 w-10 h-10 bg-gradient-to-r from-green-500 to-emerald-500 text-white rounded-full hover:from-green-600 hover:to-emerald-600 flex items-center justify-center transition-all duration-300 shadow-lg hover:shadow-xl'; playButton.innerHTML = '▶'; playButton.title = '点击播放语音'; playButton.addEventListener('click', () => playAudio(content, playButton)); messageDiv.insertBefore(playButton, bubbleDiv); } chatMessages.appendChild(messageDiv); chatMessages.scrollTop = chatMessages.scrollHeight; } // 添加加载消息 function addLoadingMessage() { const id = 'loading-' + Date.now(); const messageDiv = document.createElement('div'); messageDiv.id = id; messageDiv.className = 'flex justify-start'; const bubbleDiv = document.createElement('div'); bubbleDiv.className = 'bg-gray-100 text-gray-800 px-4 py-3 rounded-xl shadow-md'; bubbleDiv.innerHTML = 'AI正在思考... <span class="animate-pulse">...</span>'; messageDiv.appendChild(bubbleDiv); chatMessages.appendChild(messageDiv); chatMessages.scrollTop = chatMessages.scrollHeight; return id; } // 移除加载消息 function removeLoadingMessage(id) { const element = document.getElementById(id); if (element) element.remove(); } // 播放语音 async function playAudio(text, button) { // 停止当前正在播放的音频 if (currentAudio) { currentAudio.pause(); currentAudio.currentTime = 0; document.querySelectorAll('button').forEach(btn => { if (btn.innerHTML === '⏸') { btn.innerHTML = '▶'; btn.className = btn.className.replace('from-yellow-500 to-amber-500', 'from-green-500 to-emerald-500'); } }); } button.disabled = true; button.innerHTML = '...'; try { const response = await fetch('/text-to-speech', { method: 'POST', headers: {'Content-Type': 'application/json'}, body: JSON.stringify({ text: text }) }); const result = await response.json(); audioPlayer.src = result.audio_url; currentAudio = audioPlayer; audioPlayer.onplay = () => { button.innerHTML = '⏸'; button.className = button.className.replace('from-green-500 to-emerald-500', 'from-yellow-500 to-amber-500'); button.disabled = false; }; audioPlayer.onpause = () => { button.innerHTML = '▶'; button.className = button.className.replace('from-yellow-500 to-amber-500', 'from-green-500 to-emerald-500'); }; audioPlayer.onended = () => { button.innerHTML = '▶'; button.className = button.className.replace('from-yellow-500 to-amber-500', 'from-green-500 to-emerald-500'); currentAudio = null; }; await audioPlayer.play(); } catch (error) { alert('语音播放失败: ' + error.message); button.innerHTML = '▶'; button.disabled = false; } } // 事件监听 sendButton.addEventListener('click', sendMessage); messageInput.addEventListener('keypress', (e) => { if (e.key === 'Enter') sendMessage(); }); </script></body></html> """if __name__ == "__main__":import uvicorn uvicorn.run(app, host=HOST, port=PORT)
四、核心知识点总结
通过这个项目,你可以掌握以下几个关键的开发技能:
FastAPI快速开发:学习如何使用FastAPI快速构建高性能的RESTful API,包括路由定义、请求参数验证、文件上传处理和静态文件服务。FastAPI的自动文档生成功能可以极大提高开发效率。
大模型API调用:掌握通义千问API的调用规范,学习如何构建对话历史、处理API响应和异常情况。这是所有大模型应用开发的基础。
免费语音合成技术:了解Edge-TTS的使用方法,无需任何API密钥即可获得高质量的语音合成能力,支持多种语言和音色。
前后端分离交互:学习使用原生JavaScript的Fetch API与后端进行异步通信,实现无刷新的用户交互体验。
Tailwind CSS快速开发:掌握Tailwind CSS的实用优先设计理念,无需编写自定义CSS即可快速构建美观的现代化界面。
异步编程基础:了解Python异步编程的基本概念,使用async/await语法处理IO密集型任务,提高应用的并发性能。
五、拓展场景与测试步骤
5.1 丰富的拓展场景
这个项目具有极强的可拓展性,你可以根据自己的需求进行二次开发:
- 虚拟数字人助手:结合Live2D或D-ID等数字人技术,让静态头像变成会动、会说话的虚拟数字人
- 智能客服系统:接入企业知识库,让AI能够回答特定领域的问题,自动处理客户咨询
- 有声读物生成器:批量导入文本文件,生成带感情的有声读物,支持多种音色切换
- 语言学习助手:添加发音纠正、语法检查和对话练习功能,帮助用户学习外语
- 儿童故事机:自定义故事主题和角色,让AI为孩子生成专属的睡前故事并朗读
5.2 详细测试步骤
环境准备:确保你的电脑安装了Python 3.8或更高版本,打开终端执行以下命令安装依赖:
pip install fastapi uvicorn requests edge-tts python-multipart
获取API密钥:访问阿里云百炼官网(https://bailian.console.aliyun.com/),注册账号并创建API密钥,将密钥替换到代码中的对应位置。
运行服务:将代码保存为main.py,在终端执行以下命令启动服务器:
python main.py
测试功能:打开浏览器访问http://localhost:8000,依次测试以下功能:
部署上线:如果需要让其他人访问你的AI助手,可以将项目部署到阿里云、腾讯云等云服务器上,使用Nginx进行反向代理,并配置HTTPS证书。
这个项目展示了如何用最少的代码将大模型能力转化为实用的应用。你可以在此基础上不断添加新功能,打造出属于自己的个性化AI产品。