Python pytest 框架通关指南:自动化测试不再难
- 2026-07-04 21:29:47
文章介绍了pytest一个高效的Python测试框架,其优点包括简单易用、强大的断言库、支持参数化测试和丰富的插件生态系统,解释了安装、用例运行规则、命令参数、配置文件、前后置操作、断言以及参数化等内容,通过示例代码展示了其用法和优势,感兴趣的朋友跟随小编一起看看吧
一、pytest介绍
pytest是一个非常流行且高效的Python测试框架,提供丰富功能和灵活用法,让测试用例的编写与运行变得简单高效
官方文档地址:pytest
1.1 pytest的优点
简单易用:语法简洁清晰,对编写测试用例非常友好,上手速度快; 强大的断言库:内置丰富断言库,可轻松判断测试结果; 支持参数化测试:允许用不同参数多次运行同一个测试函数,大幅提升测试效率; 丰富的插件生态系统:可通过插件扩展多种功能(如覆盖率测试、测试报告生成、失败用例重复执行等),还支持与selenium、requests、appinum等结合,实现Web自动化、接口自动化、App自动化测试; 灵活的测试控制:允许跳过指定用例,或标记预期失败的用例,支持重复执行失败用例。
1.2 主流Python接口自动化框架对比
二、安装
安装命令:
pip install pytest
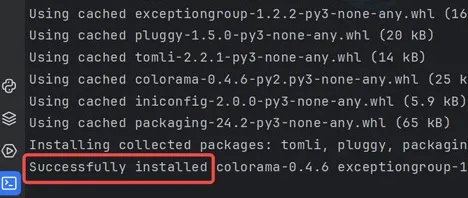
安装成功验证:
安装完成后,可通过pip list命令查看当前项目下pytest包是否安装成功。同时需确认PyCharm中Python解释器已更新,安装pytest前后的代码运行差异如下:
未安装pytest:需编写main函数手动调用测试用例; 安装pytest:测试方法名前会出现直接运行标志,无需手动编写调用代码。
三、用例运行规则
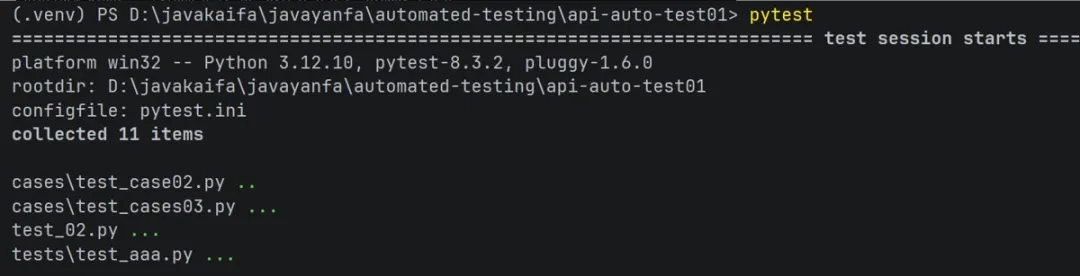
要让pytest自动发现并运行测试用例,需遵循以下命名规则:
文件名必须以 test_开头或者_test结尾;测试类必须以 Test开头,并且不能有_ _init_ _方法;测试方法必须以 test开头。
运行示例:
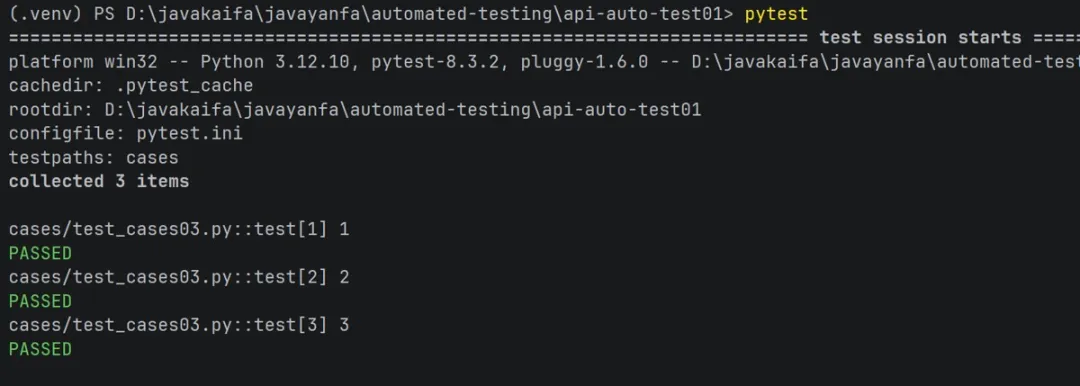
满足规则后,可通过命令行执行pytest命令直接运行符合条件的用例:
注意事项:
Python测试类中不可添加__init__方法,否则pytest会抛出pytest_collectionWarning警告,无法收集该测试类。原因是pytest采用自动发现机制收集测试用例,会自动实例化测试类并调用其test开头的方法,若存在__init__方法,可能掩盖测试逻辑并引入额外副作用,影响测试结果准确性。
若测试类需初始化操作,可使用setUp()和tearDown()方法、类属性或fixture函数替代。
四、pytest命令参数
4.1 常见参数
pytest提供丰富的命令行选项控制测试执行,常用参数及说明如下:
4.2 命令使用示例
运行符合规则的用例(不显示print内容):
详细打印并显示print内容(-s和-v可连写为-sv):
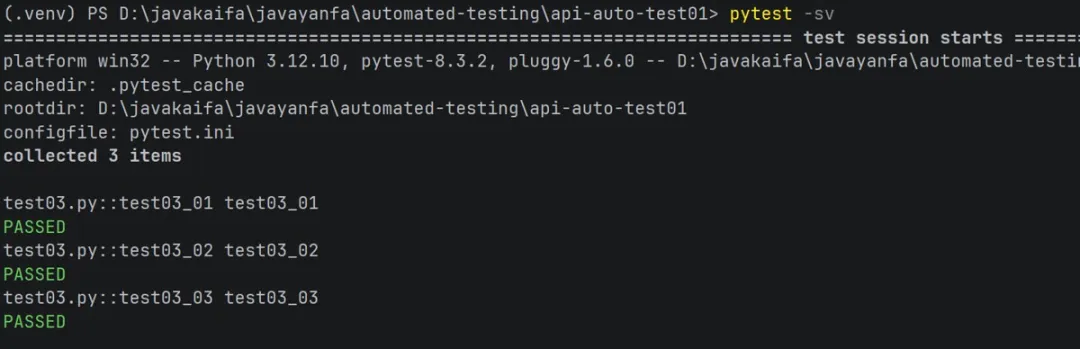
指定文件/测试用例运行:

五、pytest配置文件
当需要频繁使用复杂命令参数时,可将配置统一写入pytest.ini文件(项目根目录下创建),避免重复输入。
5.1 常见配置选项
5.2 配置示例
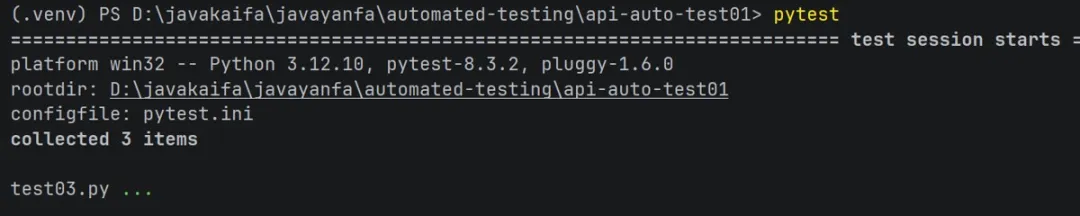
配置pytest.ini文件,实现详细输出cases包下文件名以test_开头、类名以Test开头的所有用例:
[pytest]addopts = -vstestpaths = casespython_files = test03.py
配置完成后,命令行直接执行pytest命令即可,无需额外指定参数,运行结果如下:
六、前后置操作
前后置操作用于在测试用例执行前后完成环境设置、数据准备、资源清理等工作,pytest提供三种实现方式:
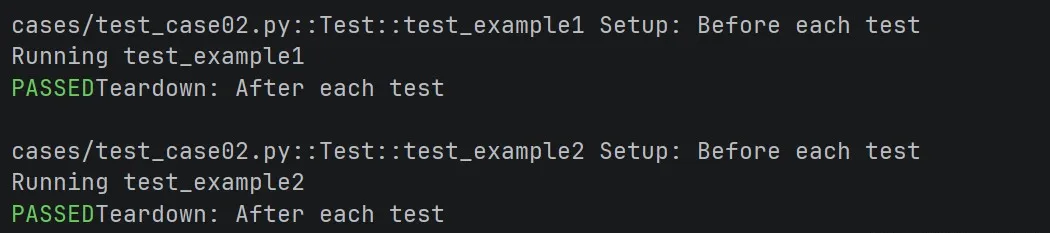
6.1 setup_method 和 teardown_method
用于类中每个测试方法的前置和后置操作,每个测试方法执行前都会触发setup_method,执行后触发teardown_method。
示例代码:
import pytestclass TestExample:def setup_method(self):print("Setup: Before each test")def teardown_method(self):print("Teardown: After each test")def test_example1(self):print("Running test_example1")def test_example2(self):print("Running test_example2")
运行结果:
6.2.setup_class 和 teardown_class
用于整个测试类的前置和后置操作,测试类中所有方法执行前触发一次setup_class,所有方法执行后触发一次teardown_class。
示例代码:
class TestExample:def setup_class(self):print("Setup: Before all test")def teardown_class(self):print("Teardown: After all test")def test_example1(self):print("Running test_example1")def test_example2(self):print("Running test_example2")

七、断言
断言(assert)是⼀种调试辅助工具,用于检查程序状态是否符合预期,若断言失败(条件为假),Python解释器会抛出AssertionError异常。pytest支持使用标准Pythonassert语句验证预期值与实际值。
基本语法:
assert条件, 错误信息 |
条件:必须是布尔表达式; 错误信息:条件为假时显示的提示信息(可选)。
断言示例:
7.1 基本数据类型断言:
# 断言整数a = 1b = 2assert a == b, "a和b不相等"# 断言字符串str = "hello"assert "hello" == str
7.2 数据结构断言:
def test():# 断言列表expect_list = [1, 'apple', 3.14]actual_list = [1, 'apple', 3.14]# 断言元组expect_tuple = (1, 'apple', 3.14)actual_tuple = (1, 'apple', 3.14)# 断言字典expect_dict = {'name': 'Alice', 'age': 25}actual_dict = {'name': 'Alice', 'age': 25}# 断言集合expect_set = {1, 2, 3, 'apple'}actual_set = {1, 2, 3, 'apple'}assert expect_list == actual_listassert expect_tuple == actual_tupleassert expect_dict == actual_dictassert expect_set == actual_set
7.3 函数断言:
def divide(a, b):assert b != 0, "除数不能为0"return a / b# 正常情况print(divide(10, 2)) # 输出 5.0# 触发断言print(divide(10, 0)) # 抛出 AssertionError: 除数不能为0
7.4 接口返回值断言:
import requestsfrom jsonschema.validators import validate# 断言接口返回值完整字段和值def test1():url = "http://jsonplaceholder.typicode.com/posts/1"r = requests.get(url=url)expect_data = {"userId": 1,"id": 1,"title": "sunt aut facere repellat provident occaecati excepturi optio reprehenderit","body": "quia et suscipit\nsuscipit recusandae consequuntur expedita et cum\nreprehenderit molestiae ut ut quas totam\nnostrum rerum est autem sunt rem eveniet architecto"}print(r.json())assert r.json() == expect_dataassert r.json()['userId'] == 1# 断言接口返回值重要字段def test2():url = "http://jsonplaceholder.typicode.com/comments?postId=1"r = requests.get(url=url)print(r.json())assert r.json()[1]['id'] == 1# 断言接口HTML返回值def test3():url = "http://jsonplaceholder.typicode.com/"r = requests.get(url=url)assert "Use your own data" in r.text
八、参数化
参数化设计可让测试用例通过不同参数多次运行,提高测试效率和覆盖度,pytest通过@pytest.mark.parametrize装饰器实现参数化,支持在测试函数、类、模块级别使用。
8.1 测试函数参数化
示例代码:
import pytest@pytest.mark.parametrize("test_input, expected", [("3+5", 8), ("2+4", 6), ("6*9", 42)])def test_eval(test_input, expected):assert eval(test_input) == expected
装饰器定义了三组(test_input, expected)元组,test_eval函数会依次使用每组参数运行三次。
8.2 测试类参数化
示例代码:
import pytest@pytest.mark.parametrize("n, expected", [(1, 2), (3, 4)])class TestClass:def test_simple_case(self, n, expected):assert n + 1 == expecteddef test_weird_simple_case(self, n, expected):assert (n * 1) + 1 == expected
参数集将作用于类中所有测试方法,每个方法都会使用每组参数运行。
8.3 模块级别参数化
通过给pytestmark全局变量赋值,实现模块内所有测试的参数化:
import pytestpytestmark = pytest.mark.parametrize("n, expected", [(1, 2), (3, 4)])class TestClass:def test_simple_case(self, n, expected):assert n + 1 == expecteddef test_weird_simple_case(self, n, expected):assert (n * 1) + 1 == expected
8.4 自定义参数化数据源
示例代码:
def data_provider():return ["a", "b"]# 定义测试函数,依赖自定义数据源@pytest.mark.parametrize("data", data_provider())def test_data(data):assert data is not Noneprint(f"Testing with data provider: {data}")
除了使用 @parametrize 添加参数外,pytest.fixture() 允许对 fixture 函数进行参数化,详情参考下一篇文章。
到此这篇关于Python pytest 框架通关指南:自动化测试不再难的文章就介绍到这了
您可能感兴趣的文章:
fiddler抓包小技巧之自动保存抓包数据的实现方法分析【可根据需求过滤】
python软件测试Jmeter性能测试JDBC Request(结合数据库)的使用详解
Python+request+unittest实现接口测试框架集成实例
使用postman传递list集合后台springmvc接收
pytest fixtures装饰器的使用和如何控制用例的执行顺序
今天也要点一键哦❤️❤️
"赞"、"在看"、


随机文章
-
 10个月宝宝每天需要喝多少奶粉?
- 暑期1对1带做项目|从嵌入式Linux到本地AI
- 赛博安全狗:美敦力数据泄露 / Linux内核漏洞Bad Epoll (7月4日)
- Linux 端口监听检查工具详解:ss、netstat、lsof
- Linux 从0到1 : 02 · 文件系统与路径
- Linux 运维必会:这些命令不会,排障效率至少慢一半
- Linux 系统基础知识学习笔记
- 绝了!我愿称之为 Python 最顶级的学习网站!
- 【python3.7.0setup】python3.7.0setup安装包 + 详细安装教程软件小白也能跟着装上
- 【python3.11.3setup】python3.11.3setup安装包 + 详细安装教程软件小白也能跟着装上
- Python21列表基础:掌握数据序列
