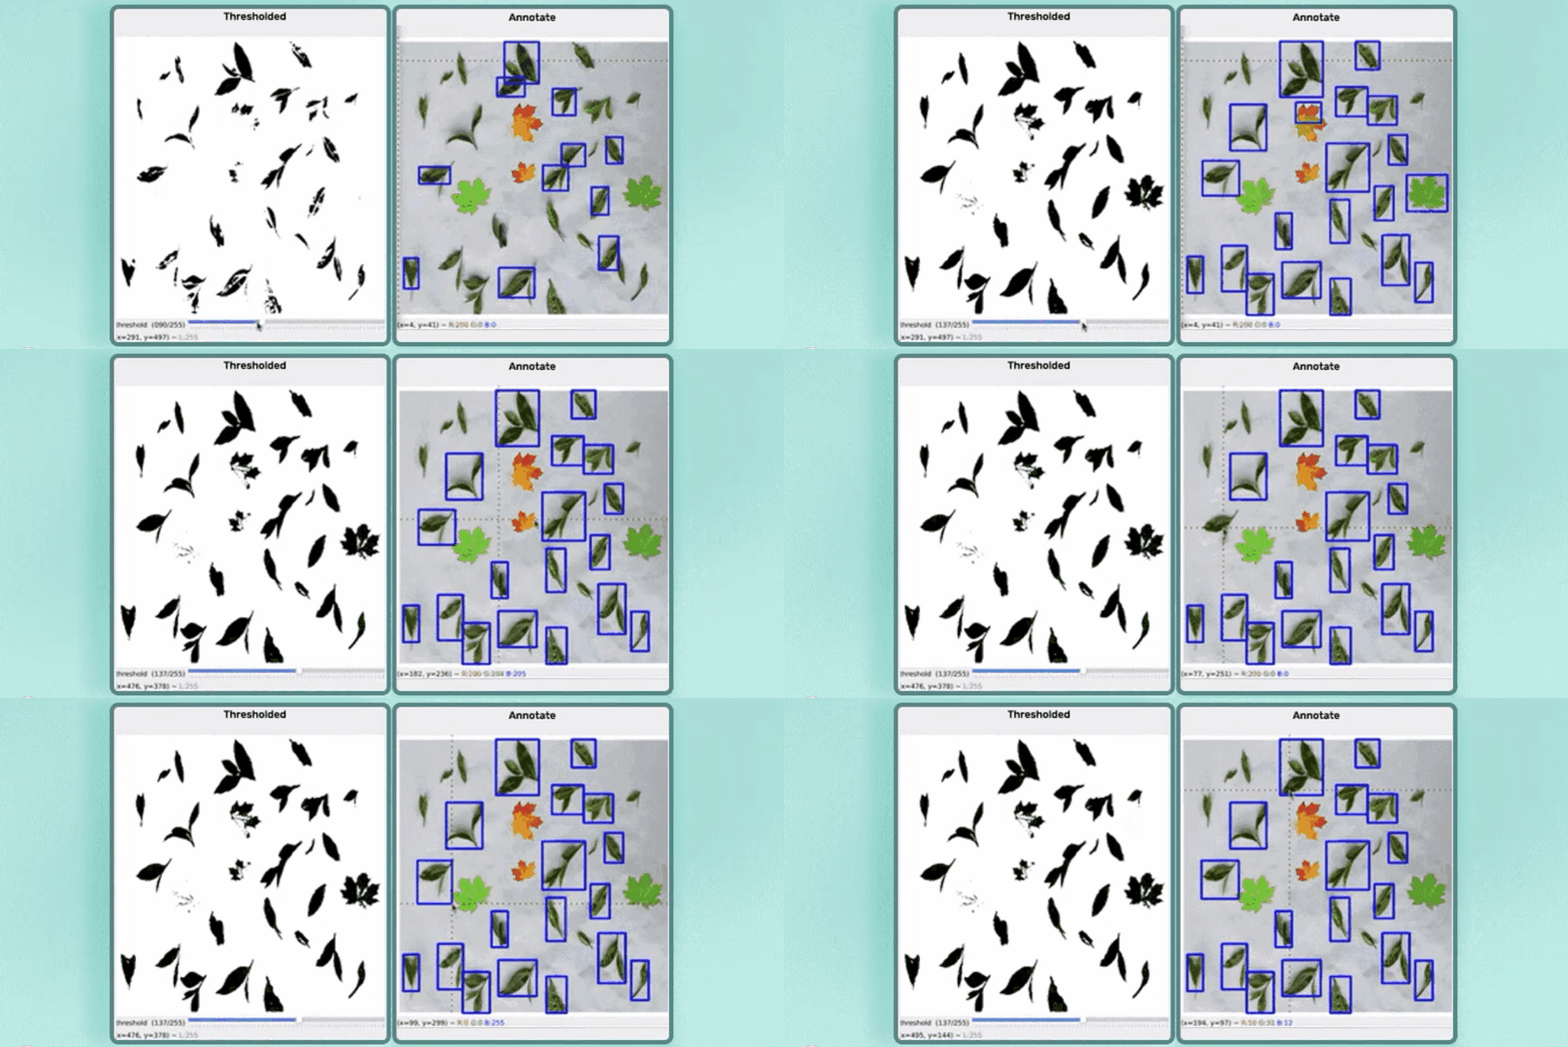
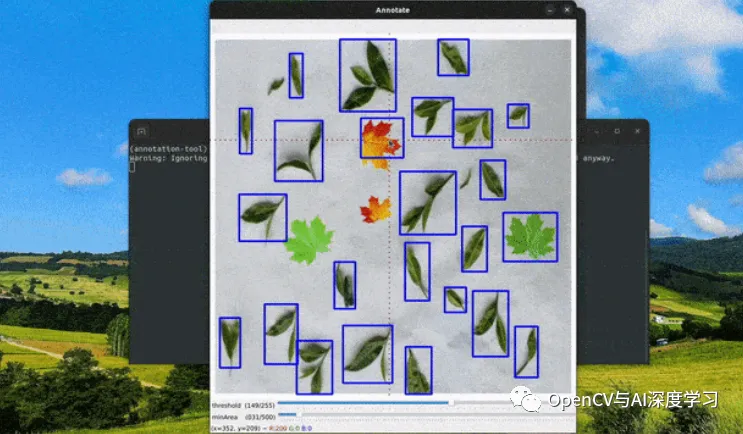
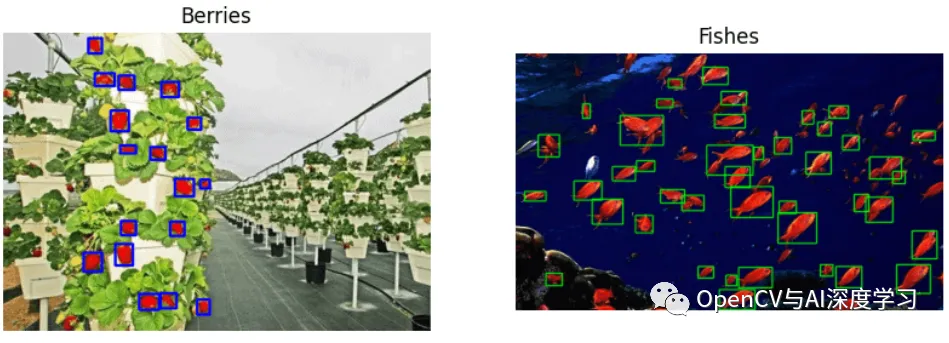
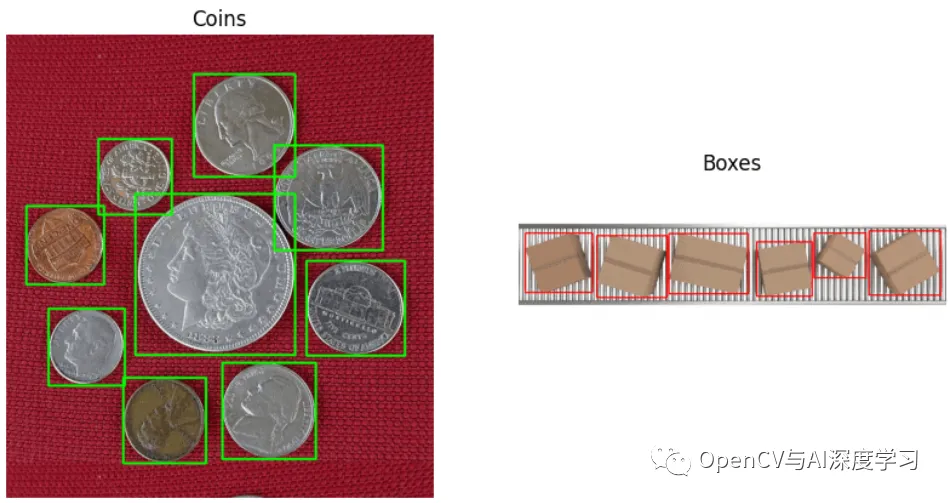
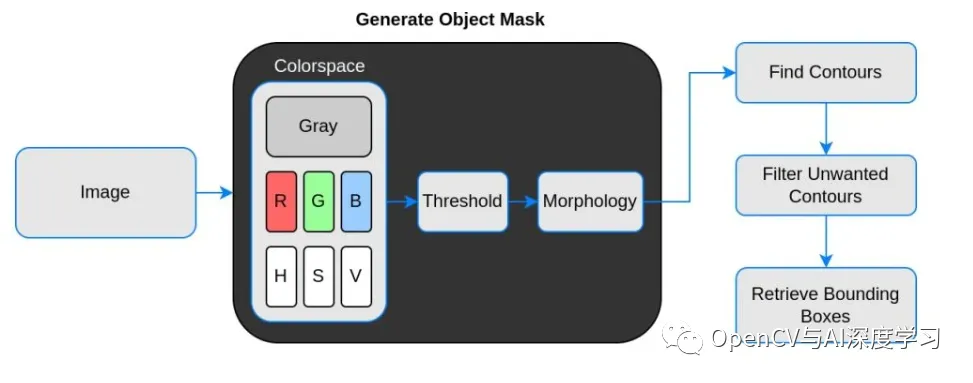
整体实现步骤:
【1】选择色彩空间
# Select colorspace.gray_stags = select_colorsp(stags)# Perform thresholding.thresh_stags = threshold(gray_stags, thresh=110)# Display.display(stags, thresh_stags, name_l='Stags original infrared', name_r='Thresholded Stags', figsize=(20,14))
【2】执行阈值
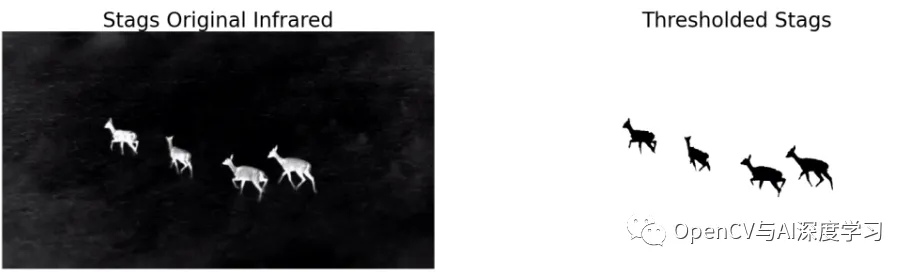
【3】执行形态学操作
def morph_op(img, mode='open', ksize=5, iterations=1): im = img.copy() kernel = cv2.getStructuringElement(cv2.MORPH_ELLIPSE,(ksize, ksize)) if mode == 'open': morphed = cv2.morphologyEx(im, cv2.MORPH_OPEN, kernel) elif mode == 'close': morphed = cv2.morphologyEx(im, cv2.MORPH_CLOSE, kernel) elif mode == 'erode': morphed = cv2.erode(im, kernel) else: morphed = cv2.dilate(im, kernel) return morphed
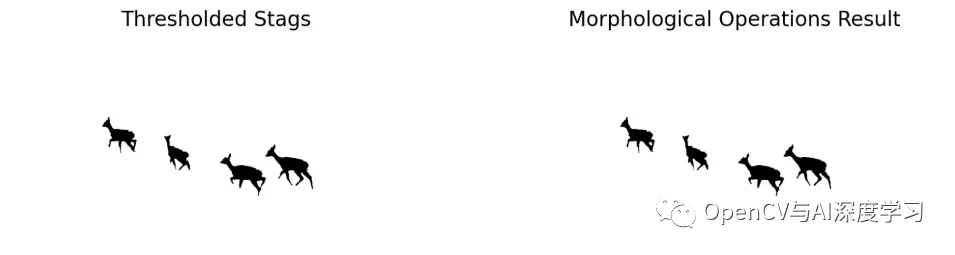
# Perform morphological operation.morphed_stags = morph_op(thresh_stags)# Display.display(thresh_stags, morphed_stags, name_l='Thresholded Stags', name_r='Morphological Operations Result', figsize=(20,14))
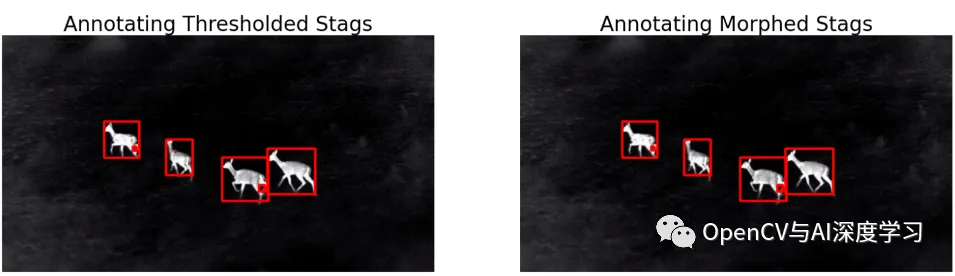
【4】轮廓分析以找到边界框
bboxes = get_bboxes(morphed_stags)ann_morphed_stags = draw_annotations(stags, bboxes, thickness=5, color=(0,0,255))# Display.display(ann_stags, ann_morphed_stags, name_l='Annotating Thresholded Stags', name_r='Annotating Morphed Stags', figsize=(20,14))
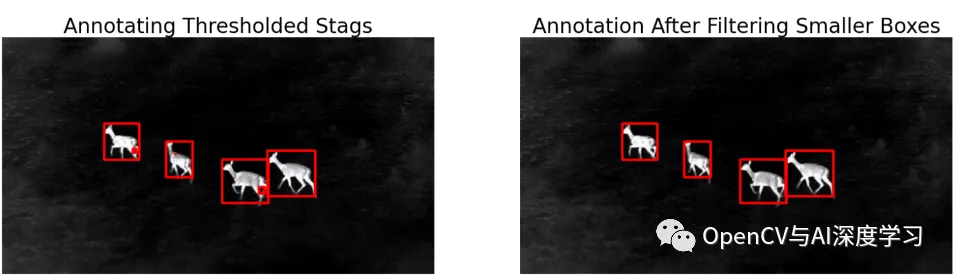
【5】过滤不需要的轮廓
def get_filtered_bboxes(img, min_area_ratio=0.001): contours, hierarchy = cv2.findContours(img, cv2.RETR_LIST, cv2.CHAIN_APPROX_SIMPLE) # Sort the contours according to area, larger to smaller. sorted_cnt = sorted(contours, key=cv2.contourArea, reverse = True) # Remove max area, outermost contour. sorted_cnt.remove(sorted_cnt[0]) # Container to store filtered bboxes. bboxes = [] # Image area. im_area = img.shape[0] * img.shape[1] for cnt in sorted_cnt: x,y,w,h = cv2.boundingRect(cnt) cnt_area = w * h # Remove very small detections. if cnt_area > min_area_ratio * im_area: bboxes.append((x, y, x+w, y+h)) return bboxes
【6】绘制边界框
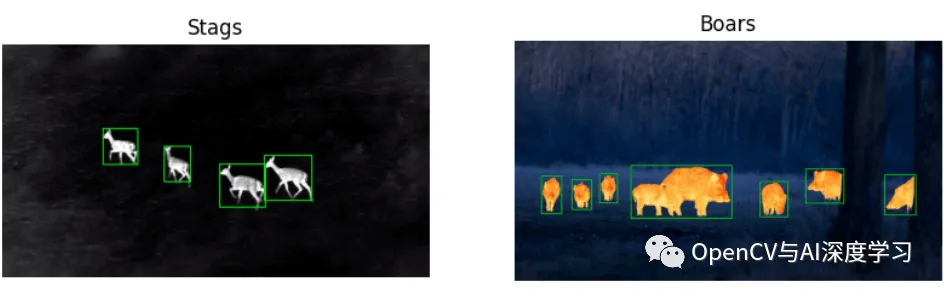
bboxes = get_filtered_bboxes(thresh_stags, min_area_ratio=0.001)filtered_ann_stags = draw_annotations(stags, bboxes, thickness=5, color=(0,0,255))# Display.display(ann_stags, filtered_ann_stags, name_l='Annotating Thresholded Stags', name_r='Annotation After Filtering Smaller Boxes', figsize=(20,14))
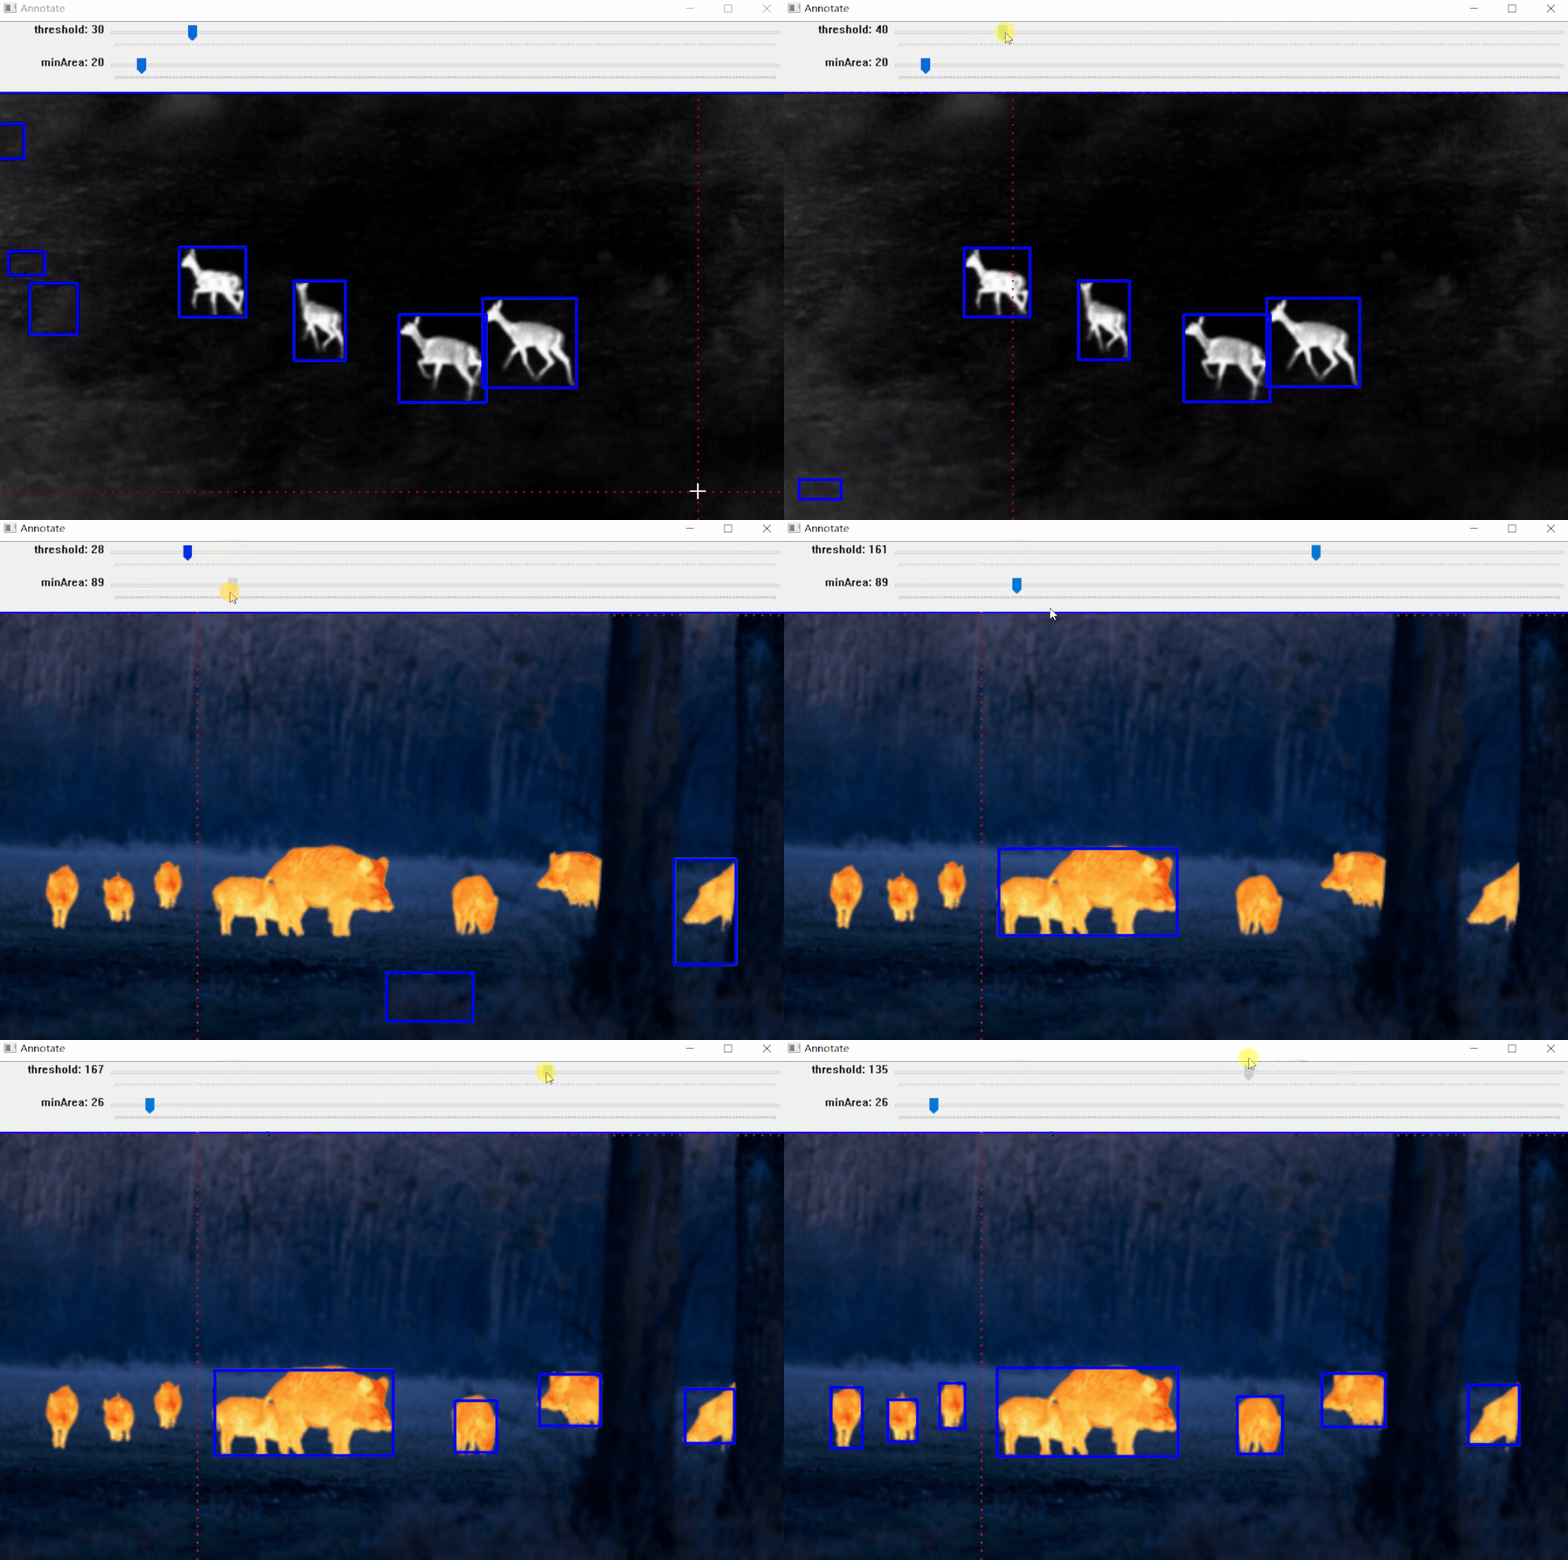
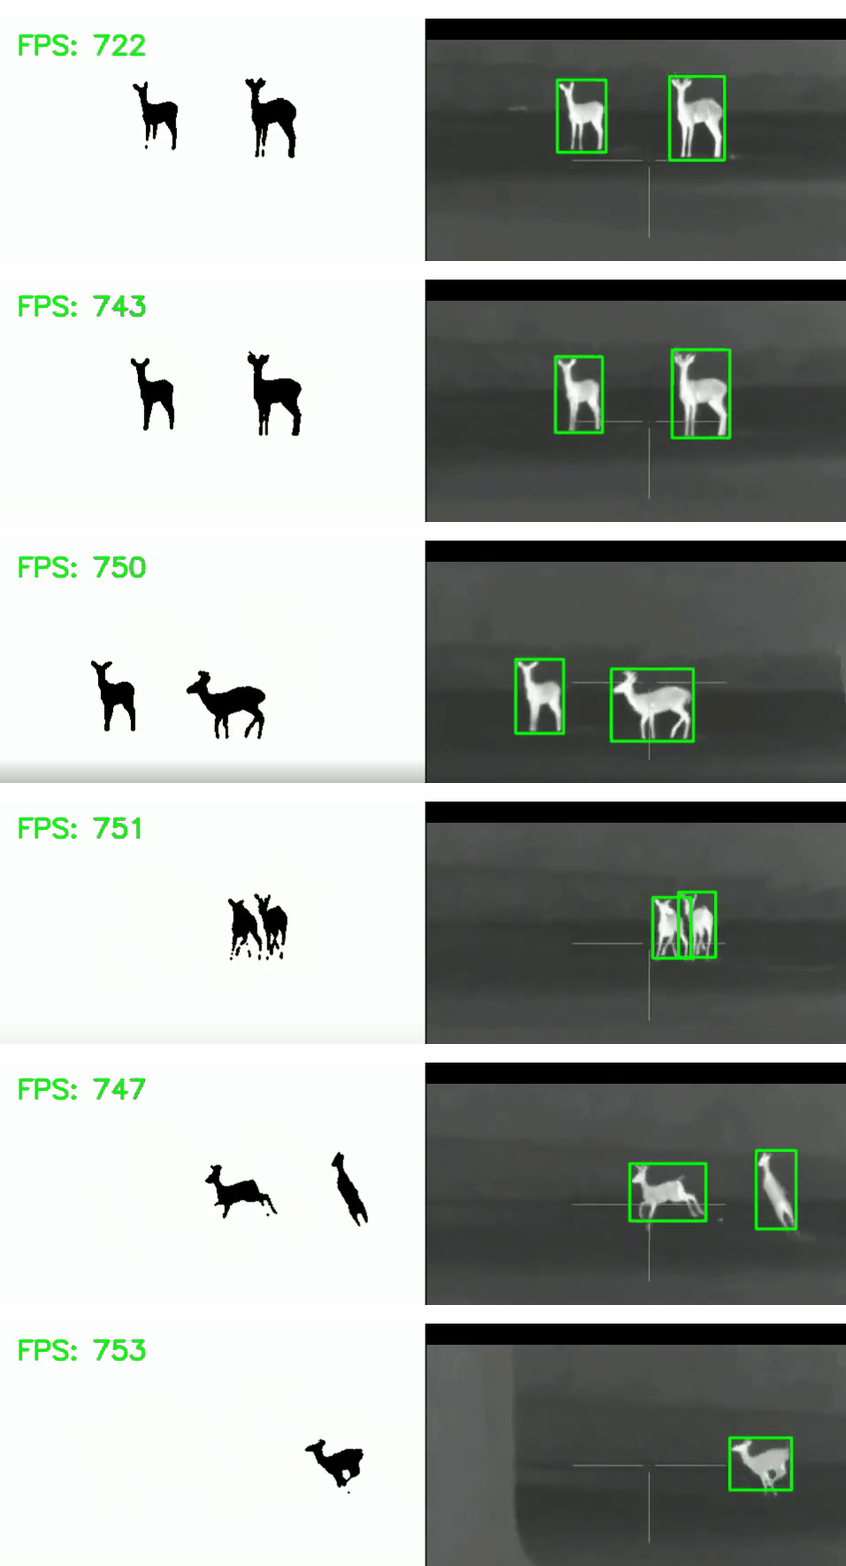
视频标注:
【7】以需要的格式保存
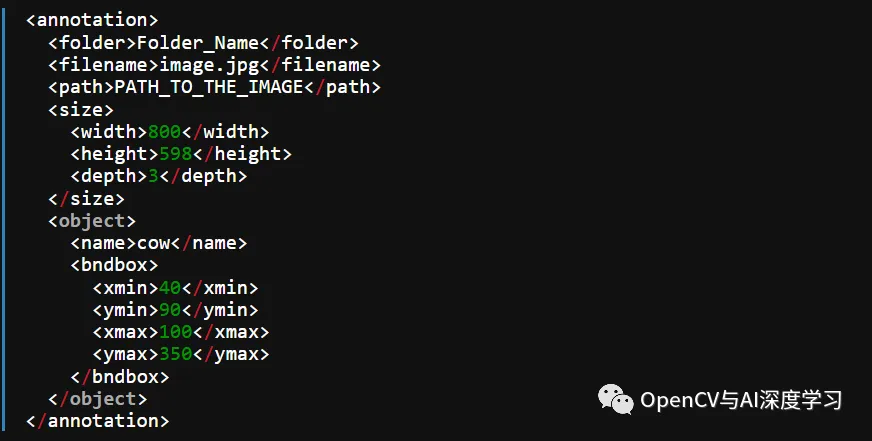
Pascal VOC、YOLO和COCO 是对象检测中使用的三种流行注释格式。让我们研究一下它们的结构。
I. Pascal VOC 以 XML 格式存储注释
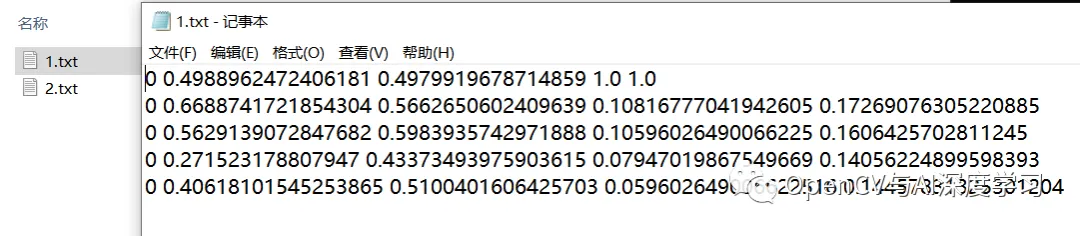
II. YOLO标注结果保存在文本文件中。对于每个边界框,它看起来如下所示。这些值相对于图像的高度和宽度进行了归一化。
0 0.0123 0.2345 0.123 0.754
<object-class> <x_centre_norm> <y_centre_norm> <box_width_norm> <box_height_norm>
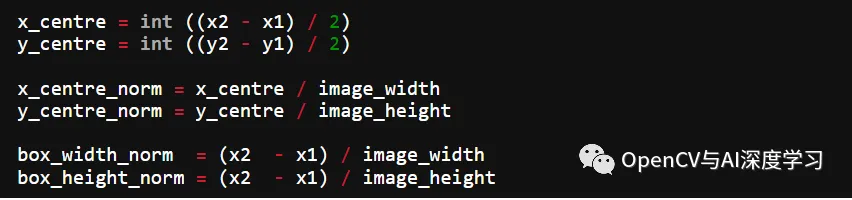
让边界框的左上角和右下角坐标表示为(x1, y1)和(x2, y2)。然后:
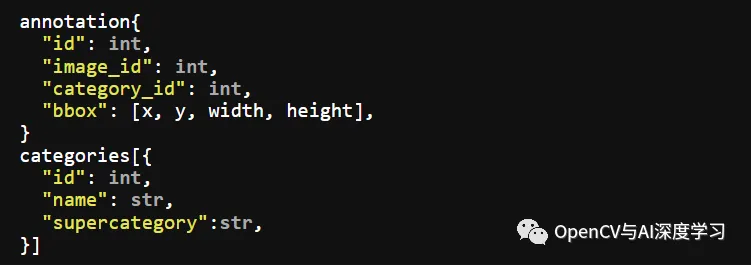
III. MS COCO
这里以YOLO Darknet保存格式为例(当然,你可以保存其他格式):
def save_annotations(img, bboxes): img_height = img.shape[0] img_width = img.shape[1] with open('image.txt', 'w') as f: for box in boxes: x1, y1 = box[0], box[1] x2, y2 = box[2], box[3] if x1 > x2: x1, x2 = x2, x1 if y1 > y2: y1, y2 = y2, y1 width = x2 - x1 height = y2 - y1 x_centre, y_centre = int(width/2), int(height/2) norm_xc = x_centre/img_width norm_yc = y_centre/img_height norm_width = width/img_width norm_height = height/img_height yolo_annotations = ['0', ' ' + str(norm_xc), ' ' + str(norm_yc), ' ' + str(norm_width), ' ' + str(norm_height), '\n'] f.writelines(yolo_annotations)
标注结果显示与保存:
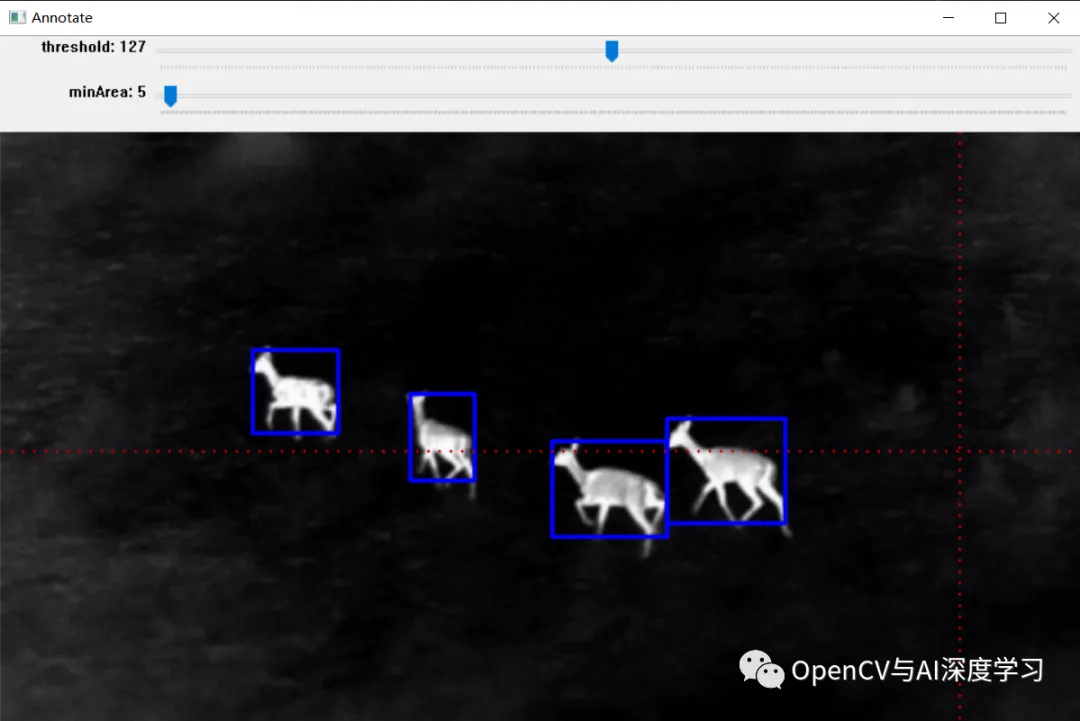
简单演示: