一行代码搞定文件加密:Python Fernet模块实战指南
- 2026-09-15 09:18:50
一行代码搞定文件加密:Python Fernet模块实战指南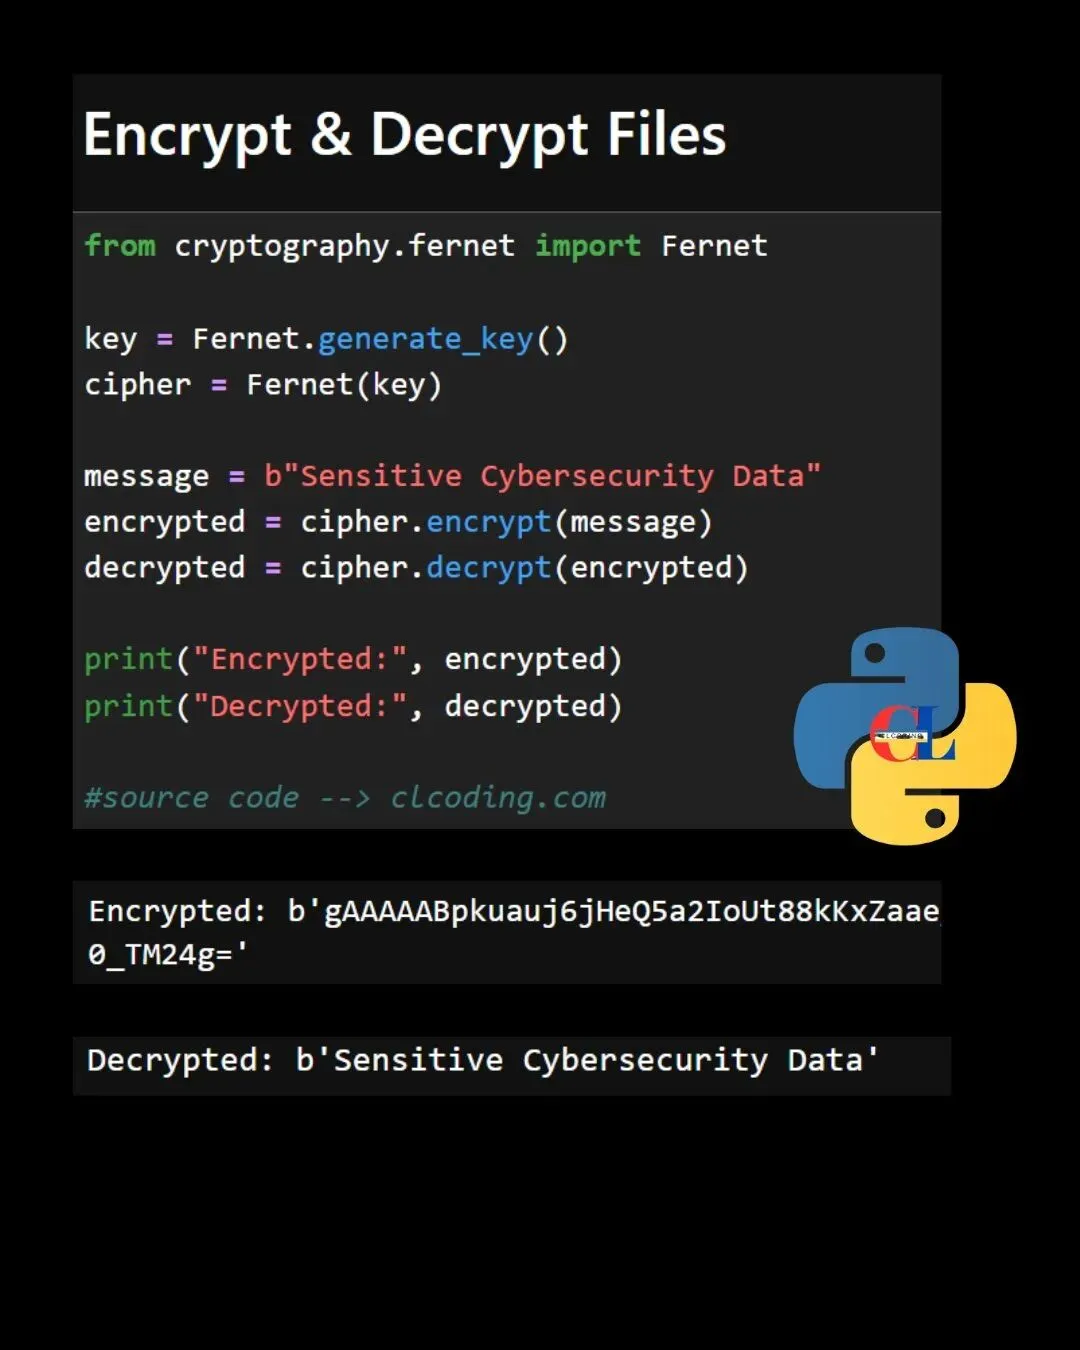

Gemini 3.1 Pro正式发布:专为复杂任务设计的更智能模型
紧急预警:Notepad++官方托管基础设施遭国家背景黑客组织攻陷
黄仁勋谈中美AI竞争:基础层与应用层的错位博弈
从零实现敏感数据的安全存储与传输
在网络安全日益重要的今天,如何保护敏感数据成为每个开发者必须面对的课题。今天,我们将通过Python的cryptography库中的Fernet模块,带你实现一个简单而强大的文件加密解密方案。
什么是Fernet?
Fernet是一种对称加密算法,它保证:
机密性:数据无法被未授权者读取 真实性:数据在传输过程中未被篡改 时效性:可设置消息过期时间
它使用AES-128加密和PKCS7填充,配合HMAC-SHA256验证,是目前最可靠的对称加密方案之一。
实战:一行代码加密解密
完整代码示例
from cryptography.fernet import Fernet# 1. 生成密钥key = Fernet.generate_key()cipher = Fernet(key)# 2. 原始敏感数据(必须为bytes类型)message = b"Sensitive Cybersecurity Data"# 3. 加密encrypted = cipher.encrypt(message)# 4. 解密decrypted = cipher.decrypt(encrypted)# 5. 输出结果print("加密后:", encrypted)print("解密后:", decrypted)运行结果
加密后: b'gAAAAABpkuauj6jHeQ5a2IOUt88kKxZaaEo_TM24g='解密后: b'Sensitive Cybersecurity Data'核心代码详解
1. 生成密钥
key = Fernet.generate_key()生成一个URL安全的Base64编码密钥 密钥必须安全保存:如果丢失,加密数据将永久无法恢复
2. 创建加密器对象
cipher = Fernet(key)将密钥传递给Fernet类,获得可重复使用的加密器实例
3. 加密数据
encrypted = cipher.encrypt(message)输入必须是bytes类型 输出包含加密数据和Fernet元数据的Base64字符串
4. 解密数据
decrypted = cipher.decrypt(encrypted)自动验证数据的完整性和时效性 如果数据被篡改或过期,将抛出异常
如何应用到文件加密?
上面的示例加密的是字符串,实际应用中我们往往需要加密文件。下面是两个实用函数:
文件加密函数
defencrypt_file(file_path, key): cipher = Fernet(key)with open(file_path, 'rb') as file: file_data = file.read() encrypted_data = cipher.encrypt(file_data)with open(file_path + '.encrypted', 'wb') as file: file.write(encrypted_data) print(f"文件已加密保存为: {file_path}.encrypted")文件解密函数
defdecrypt_file(encrypted_path, key, output_path=None): cipher = Fernet(key)with open(encrypted_path, 'rb') as file: encrypted_data = file.read() decrypted_data = cipher.decrypt(encrypted_data)if output_path isNone: output_path = encrypted_path.replace('.encrypted', '')with open(output_path, 'wb') as file: file.write(decrypted_data) print(f"文件已解密为: {output_path}")使用示例
# 生成密钥(实际应用中应安全存储)key = Fernet.generate_key()# 加密配置文件encrypt_file('config.ini', key)# 解密文件decrypt_file('config.ini.encrypted', key, 'config_restored.ini')进阶:多文件批量加密
import osfrom cryptography.fernet import Fernetdefbatch_encrypt(folder_path, key, extensions=None):""" 批量加密指定文件夹中的文件 :param folder_path: 文件夹路径 :param key: Fernet密钥 :param extensions: 要加密的文件扩展名列表,如['.txt', '.conf'] """ cipher = Fernet(key)for root, dirs, files in os.walk(folder_path):for file in files:if extensions andnot any(file.endswith(ext) for ext in extensions):continue file_path = os.path.join(root, file)with open(file_path, 'rb') as f: data = f.read() encrypted = cipher.encrypt(data)with open(file_path + '.enc', 'wb') as f: f.write(encrypted) print(f"已加密: {file_path}")# 使用示例key = Fernet.generate_key()batch_encrypt('/path/to/sensitive/docs', key, ['.txt', '.pdf', '.docx'])密钥管理最佳实践
1. 永远不要硬编码密钥
❌ 错误做法:
key = b'my_secret_key_12345'# 绝不!✅ 正确做法:
# 从环境变量读取import oskey = os.environ.get('ENCRYPTION_KEY').encode()# 从密钥文件读取with open('secret.key', 'rb') as f: key = f.read()2. 密钥分离存储
密钥文件:保存在安全位置(如HashiCorp Vault、AWS KMS) 加密数据:可任意存储,甚至上传到云端
3. 密钥轮换
定期更换密钥,并用新密钥重新加密敏感数据。
注意事项与常见错误
⚠️ 必须记住的要点
密钥即一切:丢失密钥=永久丢失数据 输入必须为bytes:字符串需用 .encode()转换解密失败处理:始终用try-except包裹解密操作 内存安全:处理大文件时使用流式加密(见进阶部分)
流式加密处理大文件
defencrypt_large_file(file_path, key, chunk_size=64*1024): cipher = Fernet(key)with open(file_path, 'rb') as f_in:with open(file_path + '.enc', 'wb') as f_out:whileTrue: chunk = f_in.read(chunk_size)ifnot chunk:break encrypted_chunk = cipher.encrypt(chunk) f_out.write(encrypted_chunk)总结
Fernet提供了一种简单但强大的加密方案,只需几行代码就能为你的敏感数据加上坚固的防护:
生成密钥: Fernet.generate_key()创建加密器: Fernet(key)加密数据: cipher.encrypt(data)解密数据: cipher.decrypt(encrypted)
无论你是保护配置文件、用户隐私数据,还是实现安全的文件传输,Fernet都是一个值得信赖的选择。
记住:在网络安全的世界里,加密不是可选项,而是必选项。
本文来自网友投稿或网络内容,如有侵犯您的权益请联系我们删除,联系邮箱:596563534@qq.com 。
随机文章
-
 10个月宝宝每天需要喝多少奶粉?
- Linux 7.0-rc1 发布:Rust 结束实验阶段,AMD 与 Intel 下一代硬件底座就绪
- 10. Linux文本编辑之争:Nano 与 Vim 入门
- 18年坚守获官方致谢!Linux 7.0 铭记 linux-next 幕后功臣
- Bluefin Linux:ChromeOS 的极简,Linux 的极致强大
- Python从入门到精通|第1集:条件判断 if-elif-else,让程序学会做选择
- 免费分享,鸟哥的Linux私房菜第四版
- 董付国老师Python系列教材(累计印刷260次)推荐与选用参考
- 【限时免费领】从零到精通:Python全套学习资料包(课件+源码+实战),送你一份马年开年礼!
- 智变时代,PyMe 领航:2026 年 Python 开发者的进化之路
- 智变时代,PyMe 领航:2026 年 Python 开发者的进化之路